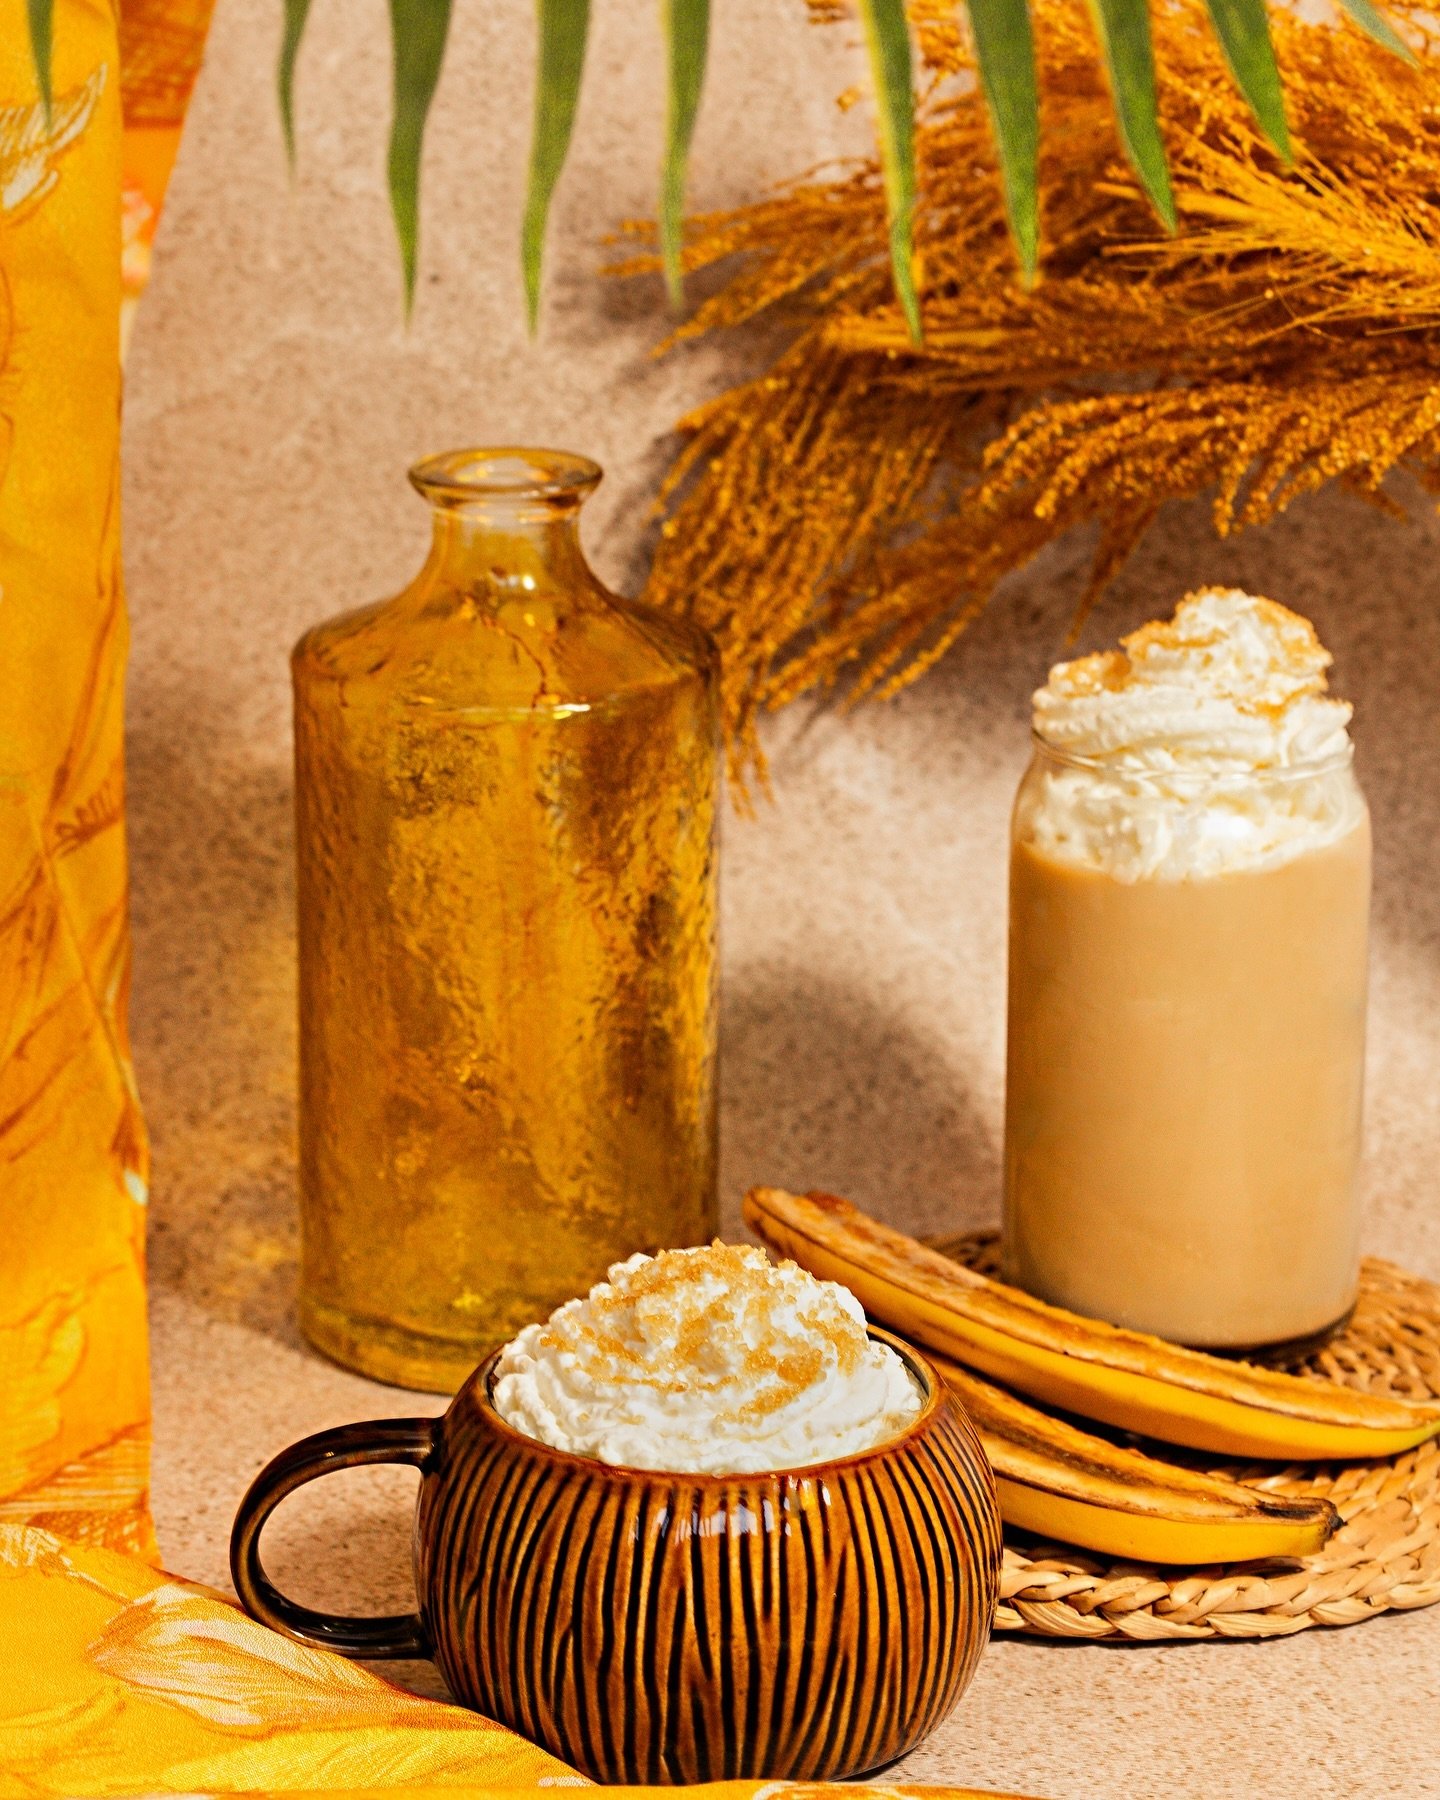
Bloggers! Use these tips for your next photo shoot with your iPhone
/When you are doing your own photoshoot at home, take note of these four tools to create product photos.
Clamps
Masking tape
Wooden blocks
Dumbbells
When you are doing your own photoshoot at home, take note of these four tools to create product photos.
Clamps
Masking tape
Wooden blocks
Dumbbells


An easy way to make your Christmas décor festive, without spending too much money is by using these two items: felt and hemp string (or any other string you have around the house.)
Felt is such a forgiving craft material and I love creating with it, and so do my kids!


You can hang the garland over your mirror, artwork or mantel.

Instructions:
Head to our local craft store, and select your colors
Cut felt pieces to 1 inch-1.5 inch x 8 inch strips for each color.
The amount of strips will depend on how long you want your garland to be.
Tie each strand onto the string. As you gather more and more pieces of felt on the string, push them together so your garland will be full of volume.


I’ve made a tutorial video for you too! Take a look and enjoy.
Watch below!

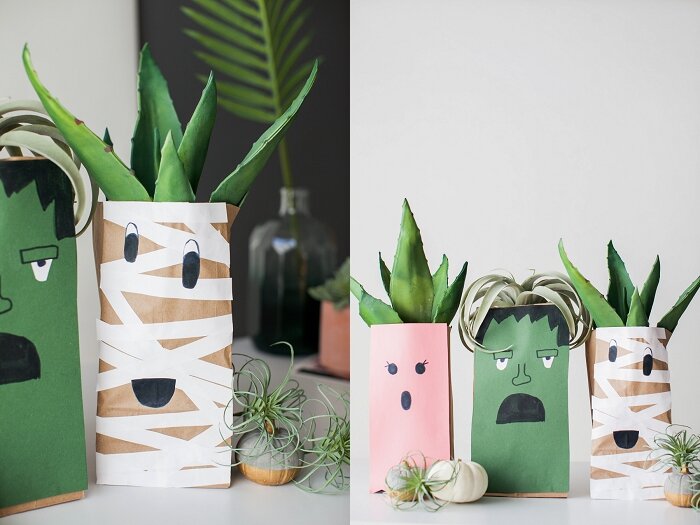
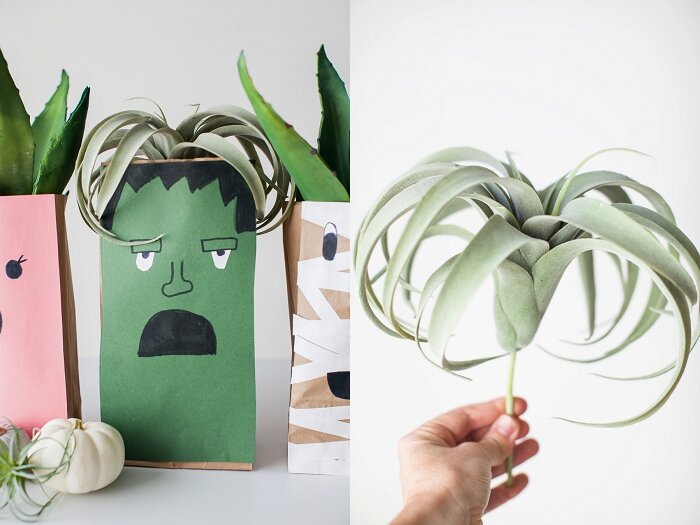
I love Halloween decorations, but I’m not fond of the scary ones. I like the cute and spooky stuff, you know?
Well, when my seven year old came to me with the cutest creation of Frankenstein, I was inspired to create a Halloween tablescape. I love when he inspires my creativity, because he is so creative all the time.
We created our spooky friends out of lunch paper sacks, construction paper, markers, glue and fake succulent plants.
Here are the steps to creating your own:
Brainstorm which spooky friend you want to create. There’s a ghost, Frankenstein, mummy, werewolf, Dracula, jack o’latern , bat, black cat, one-eyed monster, skeleton, etc. Ask your kids for more ideas :)
Select your colored construction paper and trace the paper sack onto your paper and cut it out.
Create your spooky friend with markers, glitter, extra paper or any other craft item you have in your home.
Glue your paper to your lunch sack.
Add a rectangular vase inside your bag or mason jar filled with rocks or something to weigh it down so it will stay open and not fall over.
Finish your creation by adding fake succulent plants from Hobby Lobby as hair.
Add this to your table with pumpkins, checkered black and white placemats and more succulent plants. Now you are now ready for a party!


Wedding and portrait photographer based in New Mexico and West Texas photographing world wide.


cAMERA PHONE ONLINE COURSE SHOP NOW

@CRISTYCROSSPHOTO ON INSTAGRAM