Choosing the Perfect Portrait Lens: A Guide to Features and Specifications for Stunning Portraiture
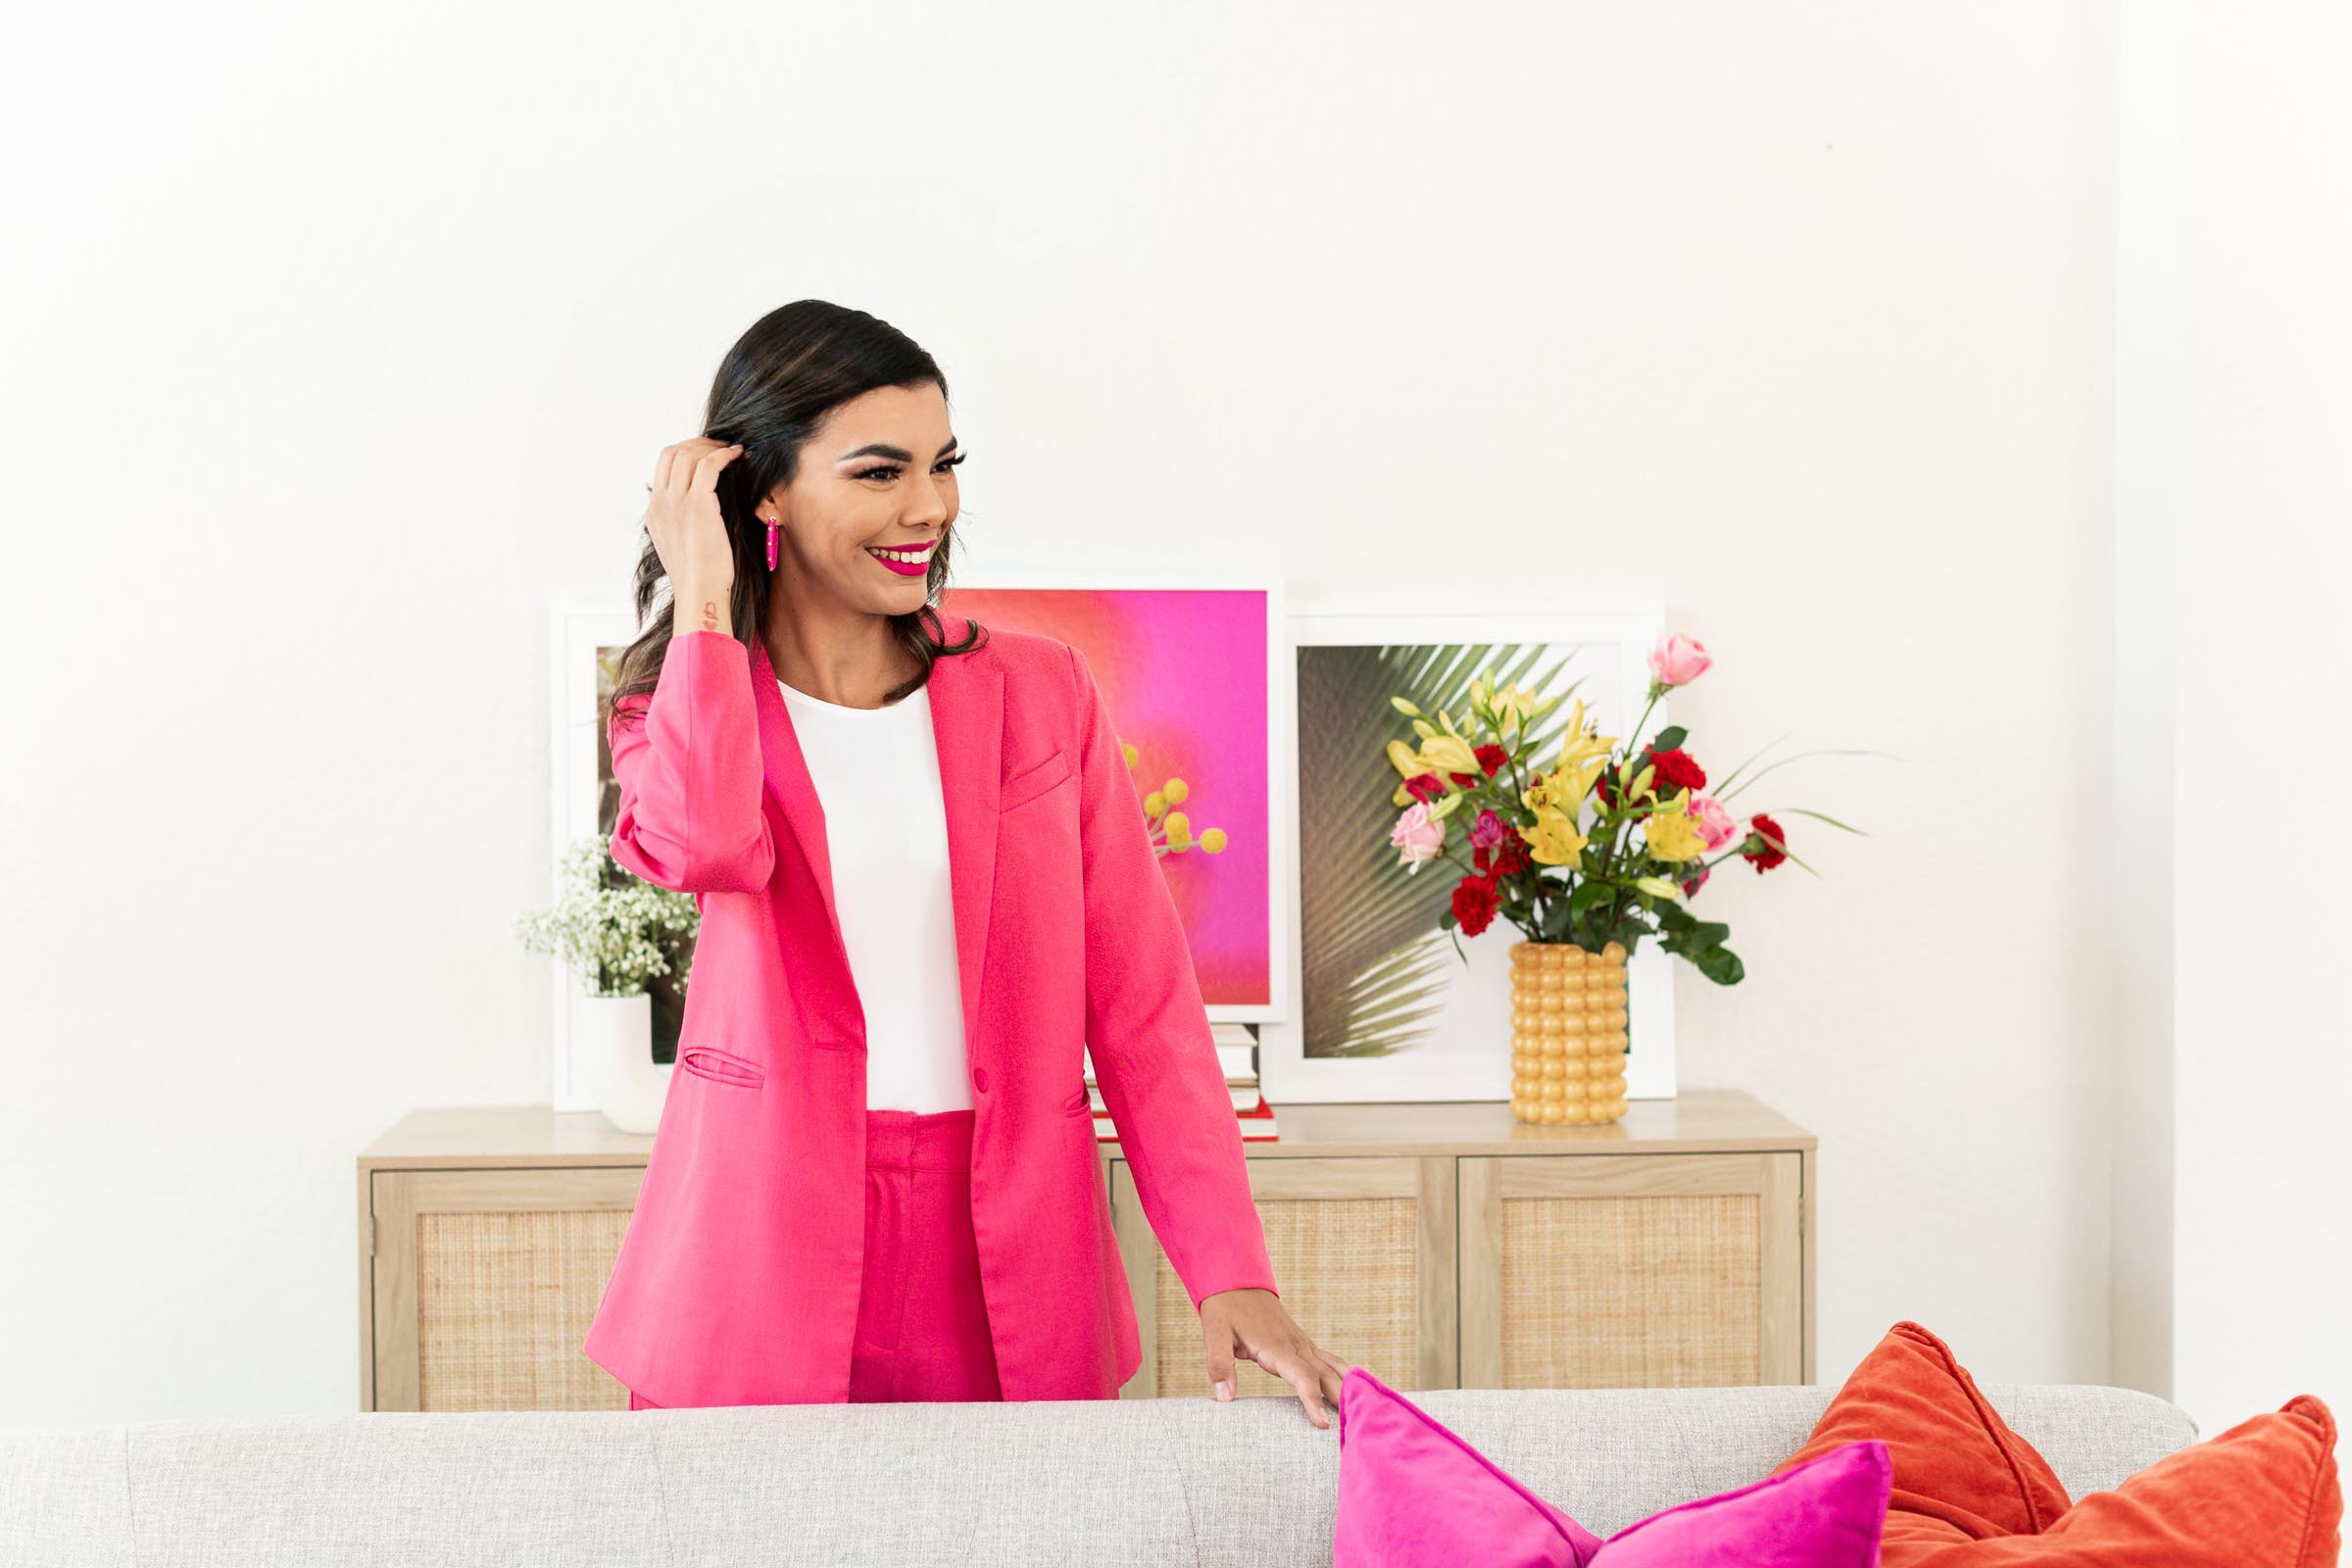
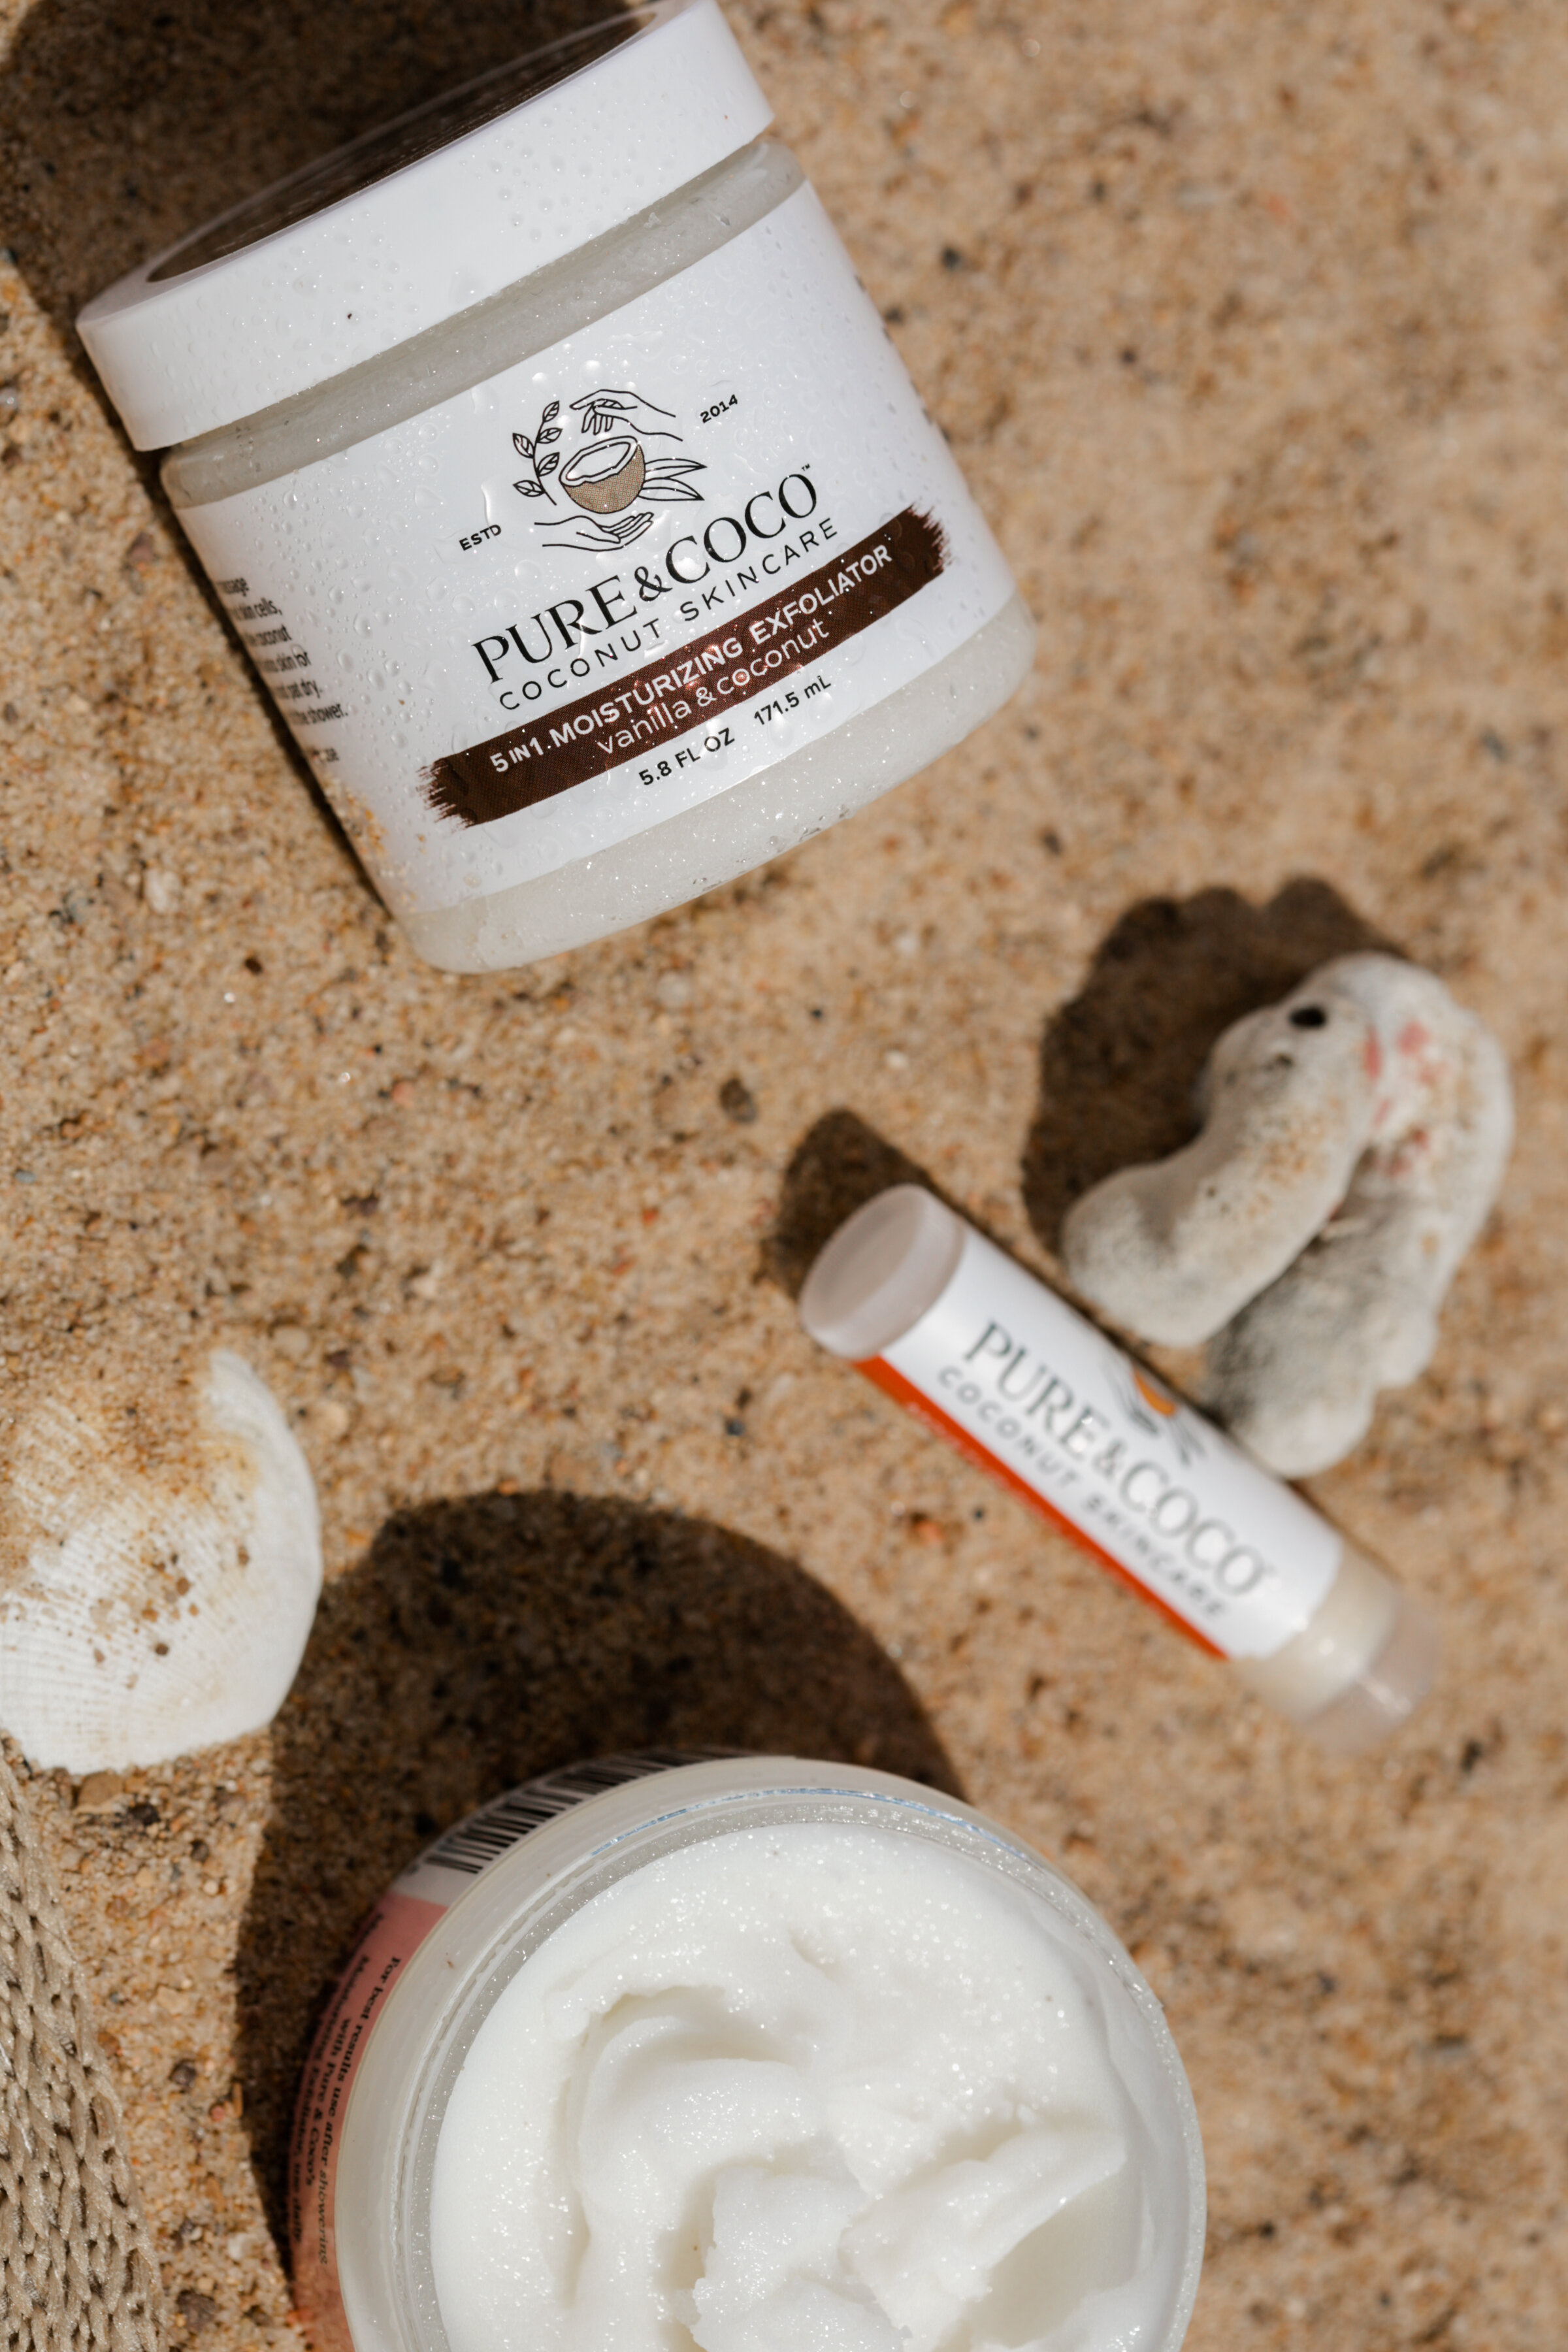
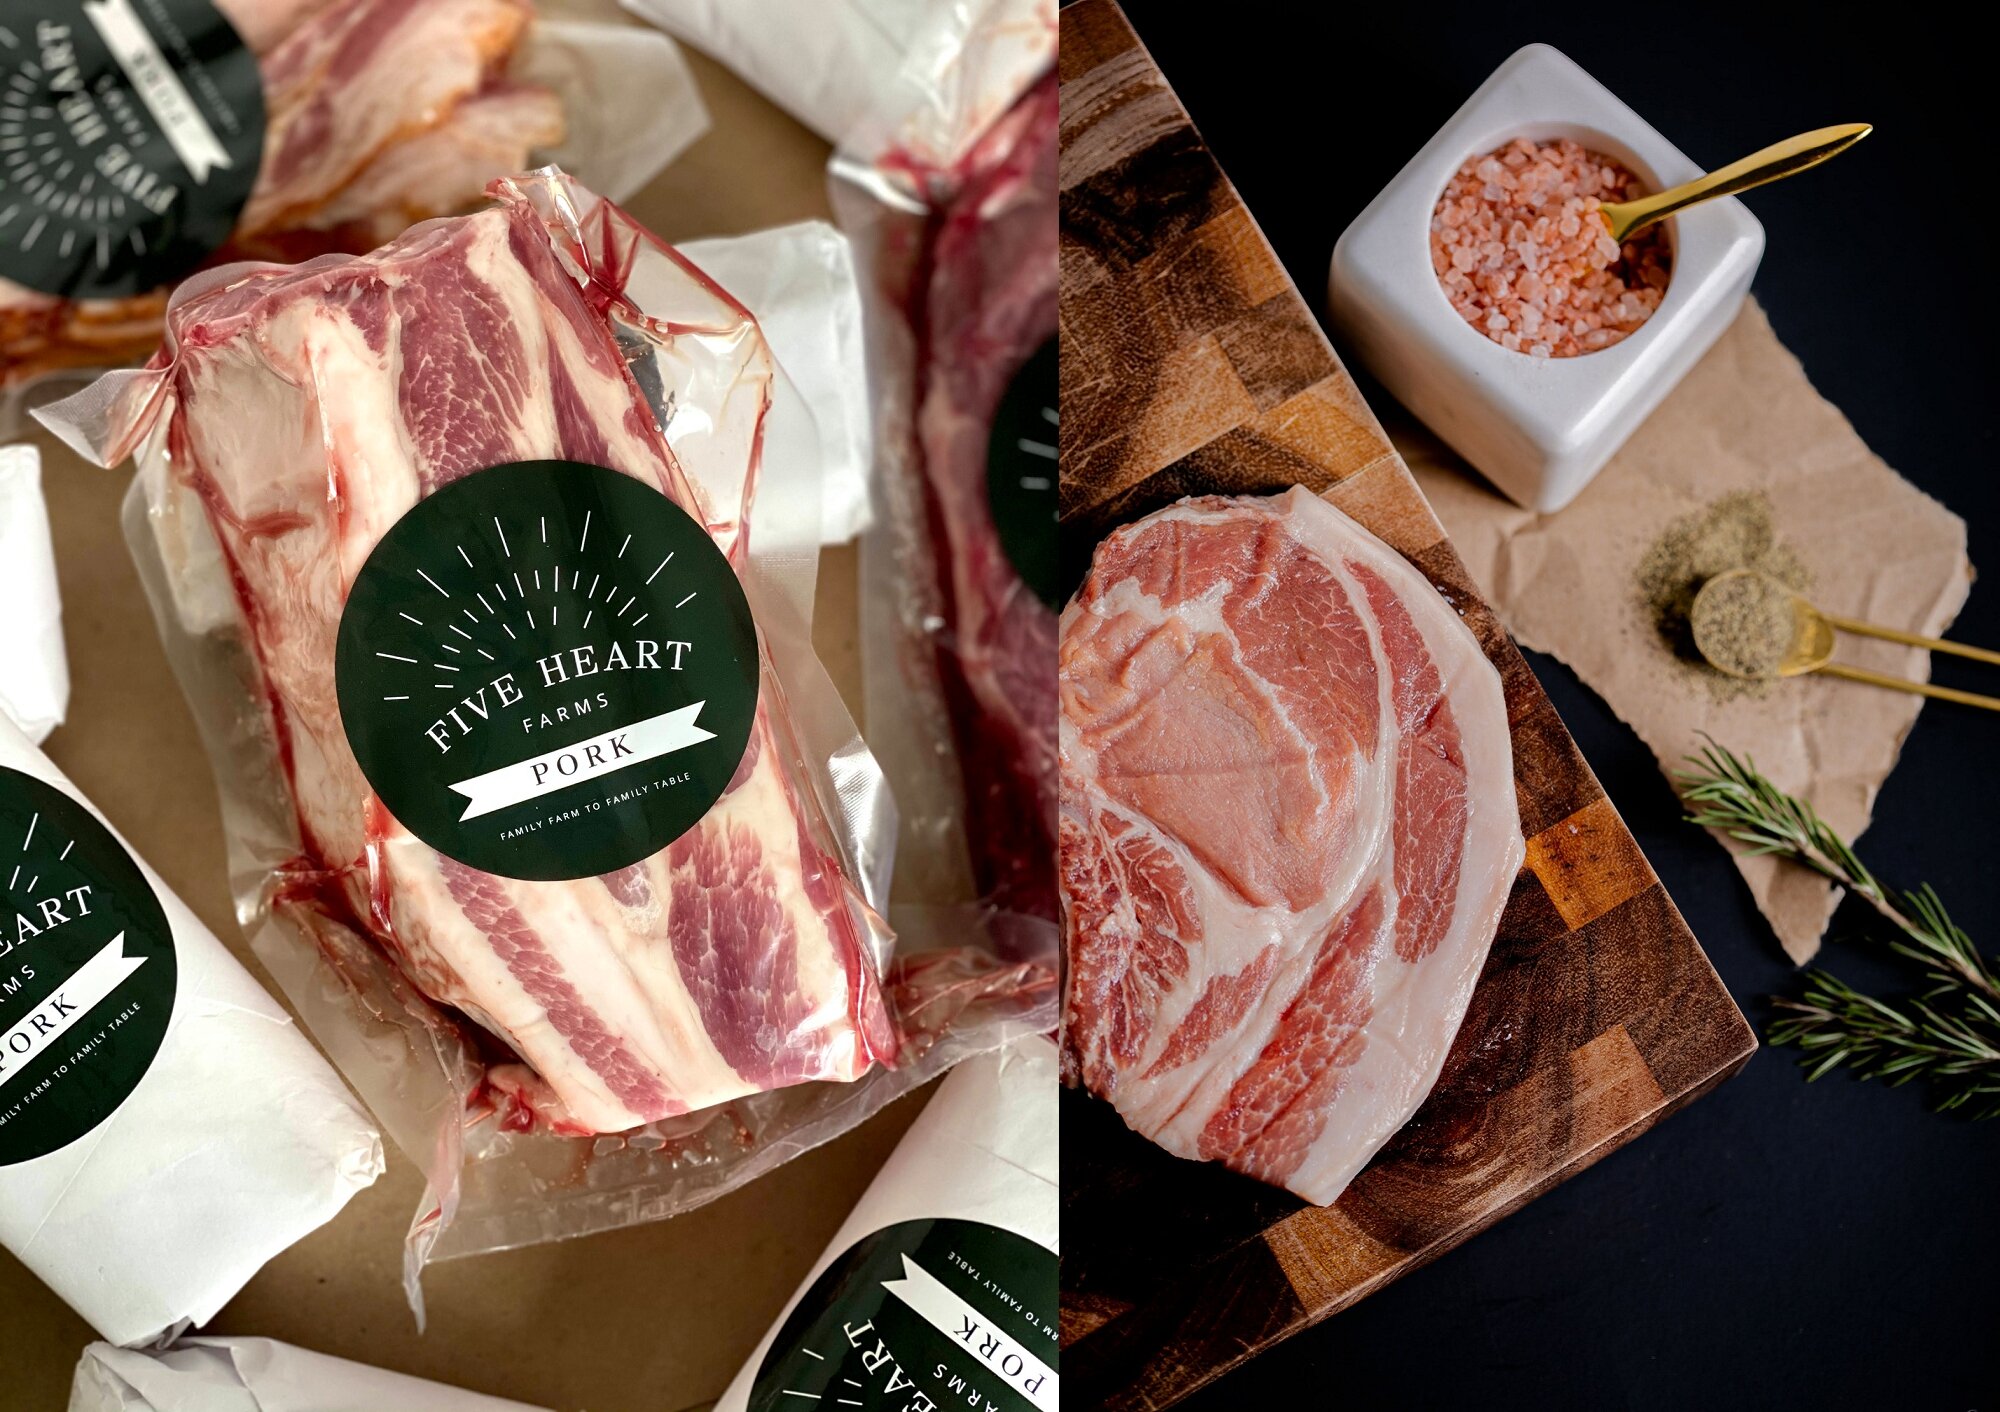
The best lenses for portrait photography depend on various factors, including your camera system, personal preferences, and the specific type of portraits you want to capture. Here are some popular choices that are often recommended for portrait photography and are my favorites to use with brand photoshoots.

  • 50mm f/1.8 (f/1.4 or f1.2): A 50mm prime lens is a versatile choice for portraits. The wide aperture (f/1.8 or wider) allows for beautiful background blur (bokeh) and works well in low-light conditions. It's also a relatively affordable option.

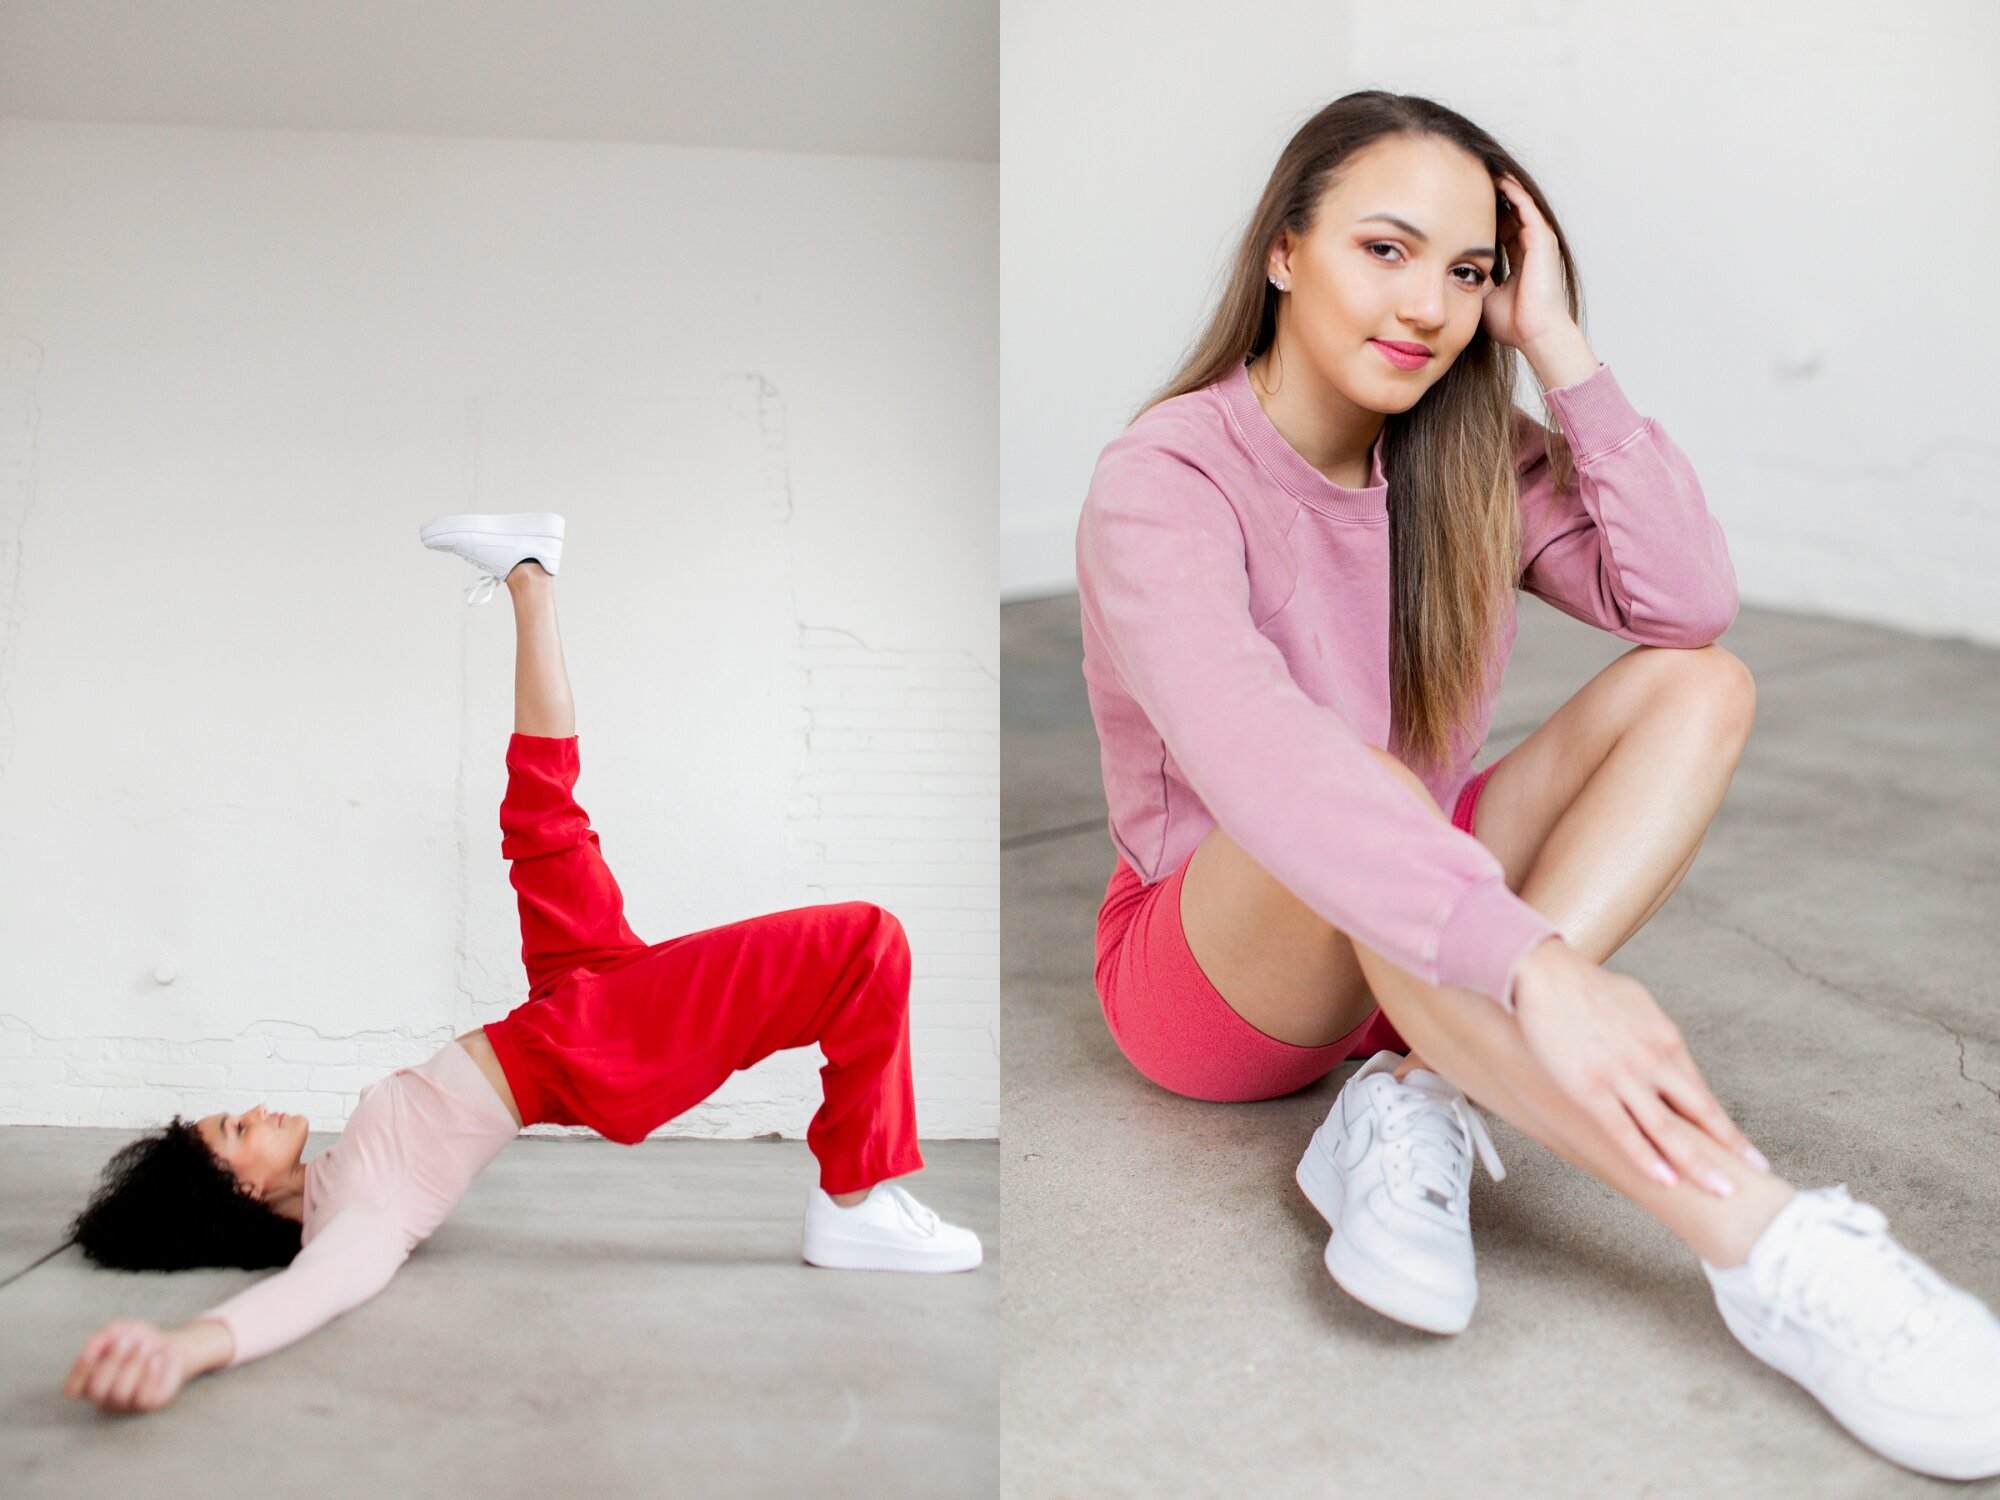
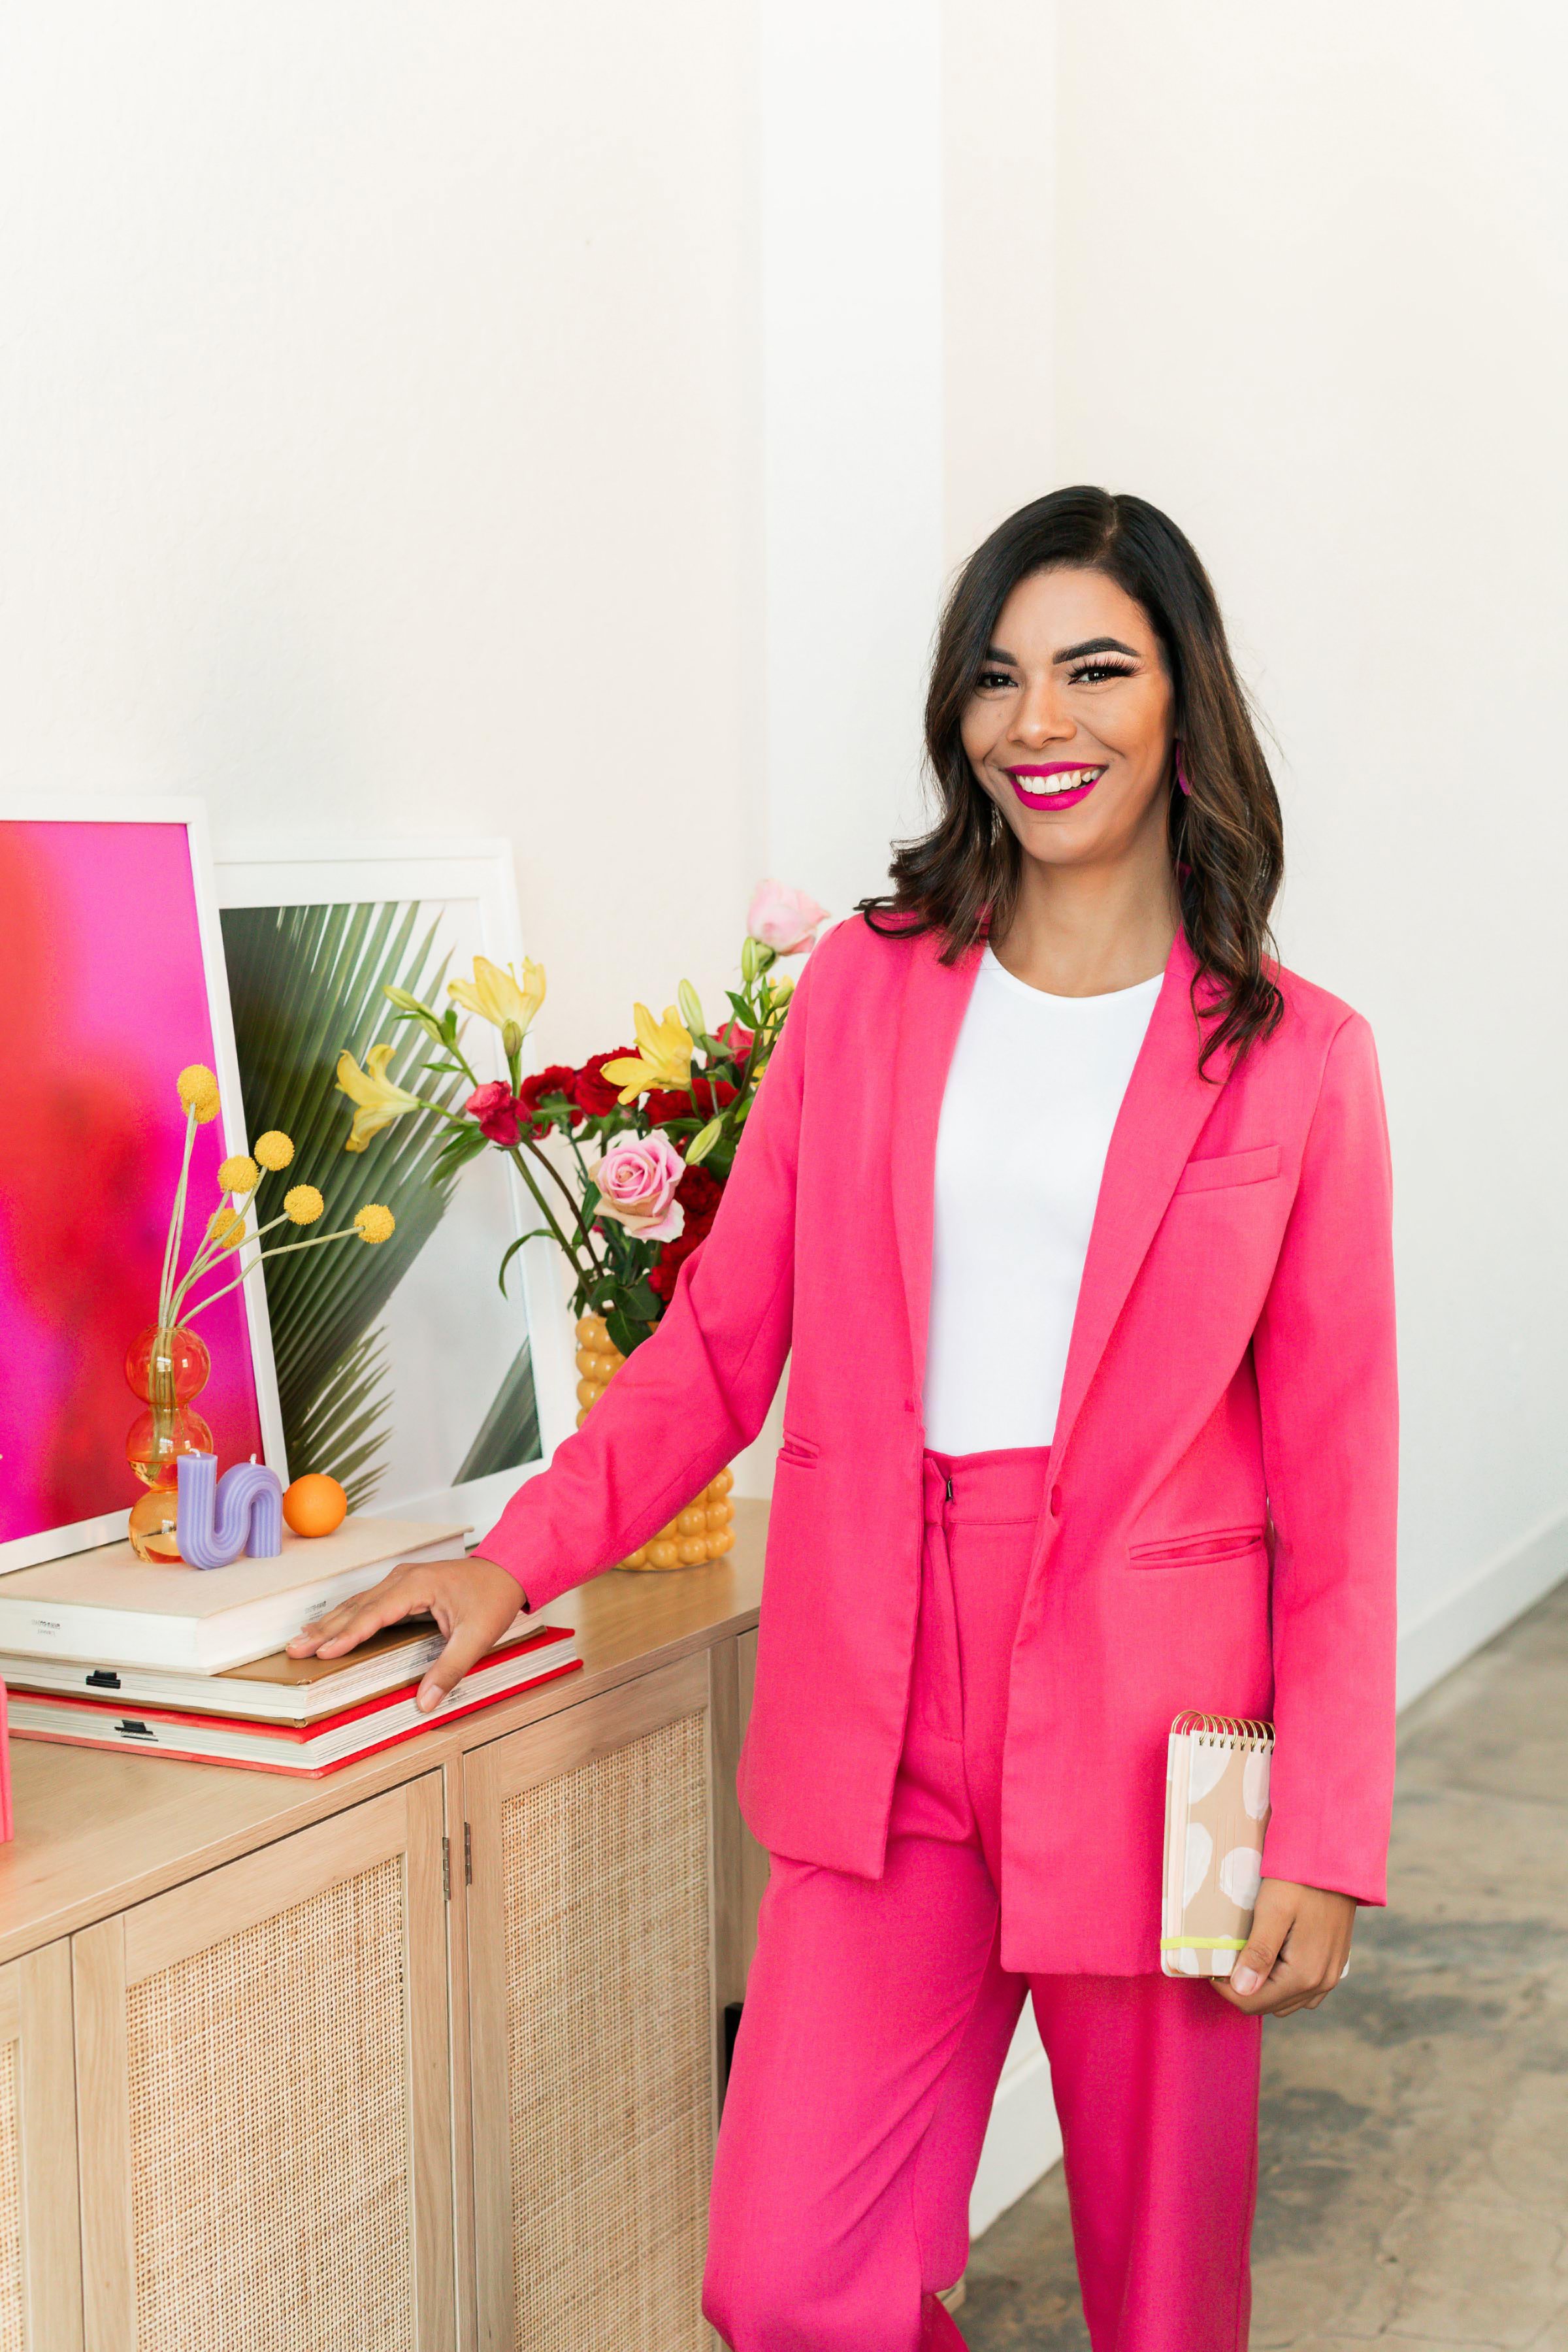
  • 85mm f/1.4 (or f/1.8): An 85mm lens is a classic portrait choice. The longer focal length provides a flattering perspective, compressing facial features and creating a pleasing background blur. The wide aperture is excellent for isolating subjects.

These are the two lenses I use when photographing any type of portrait.

Other popular options are:

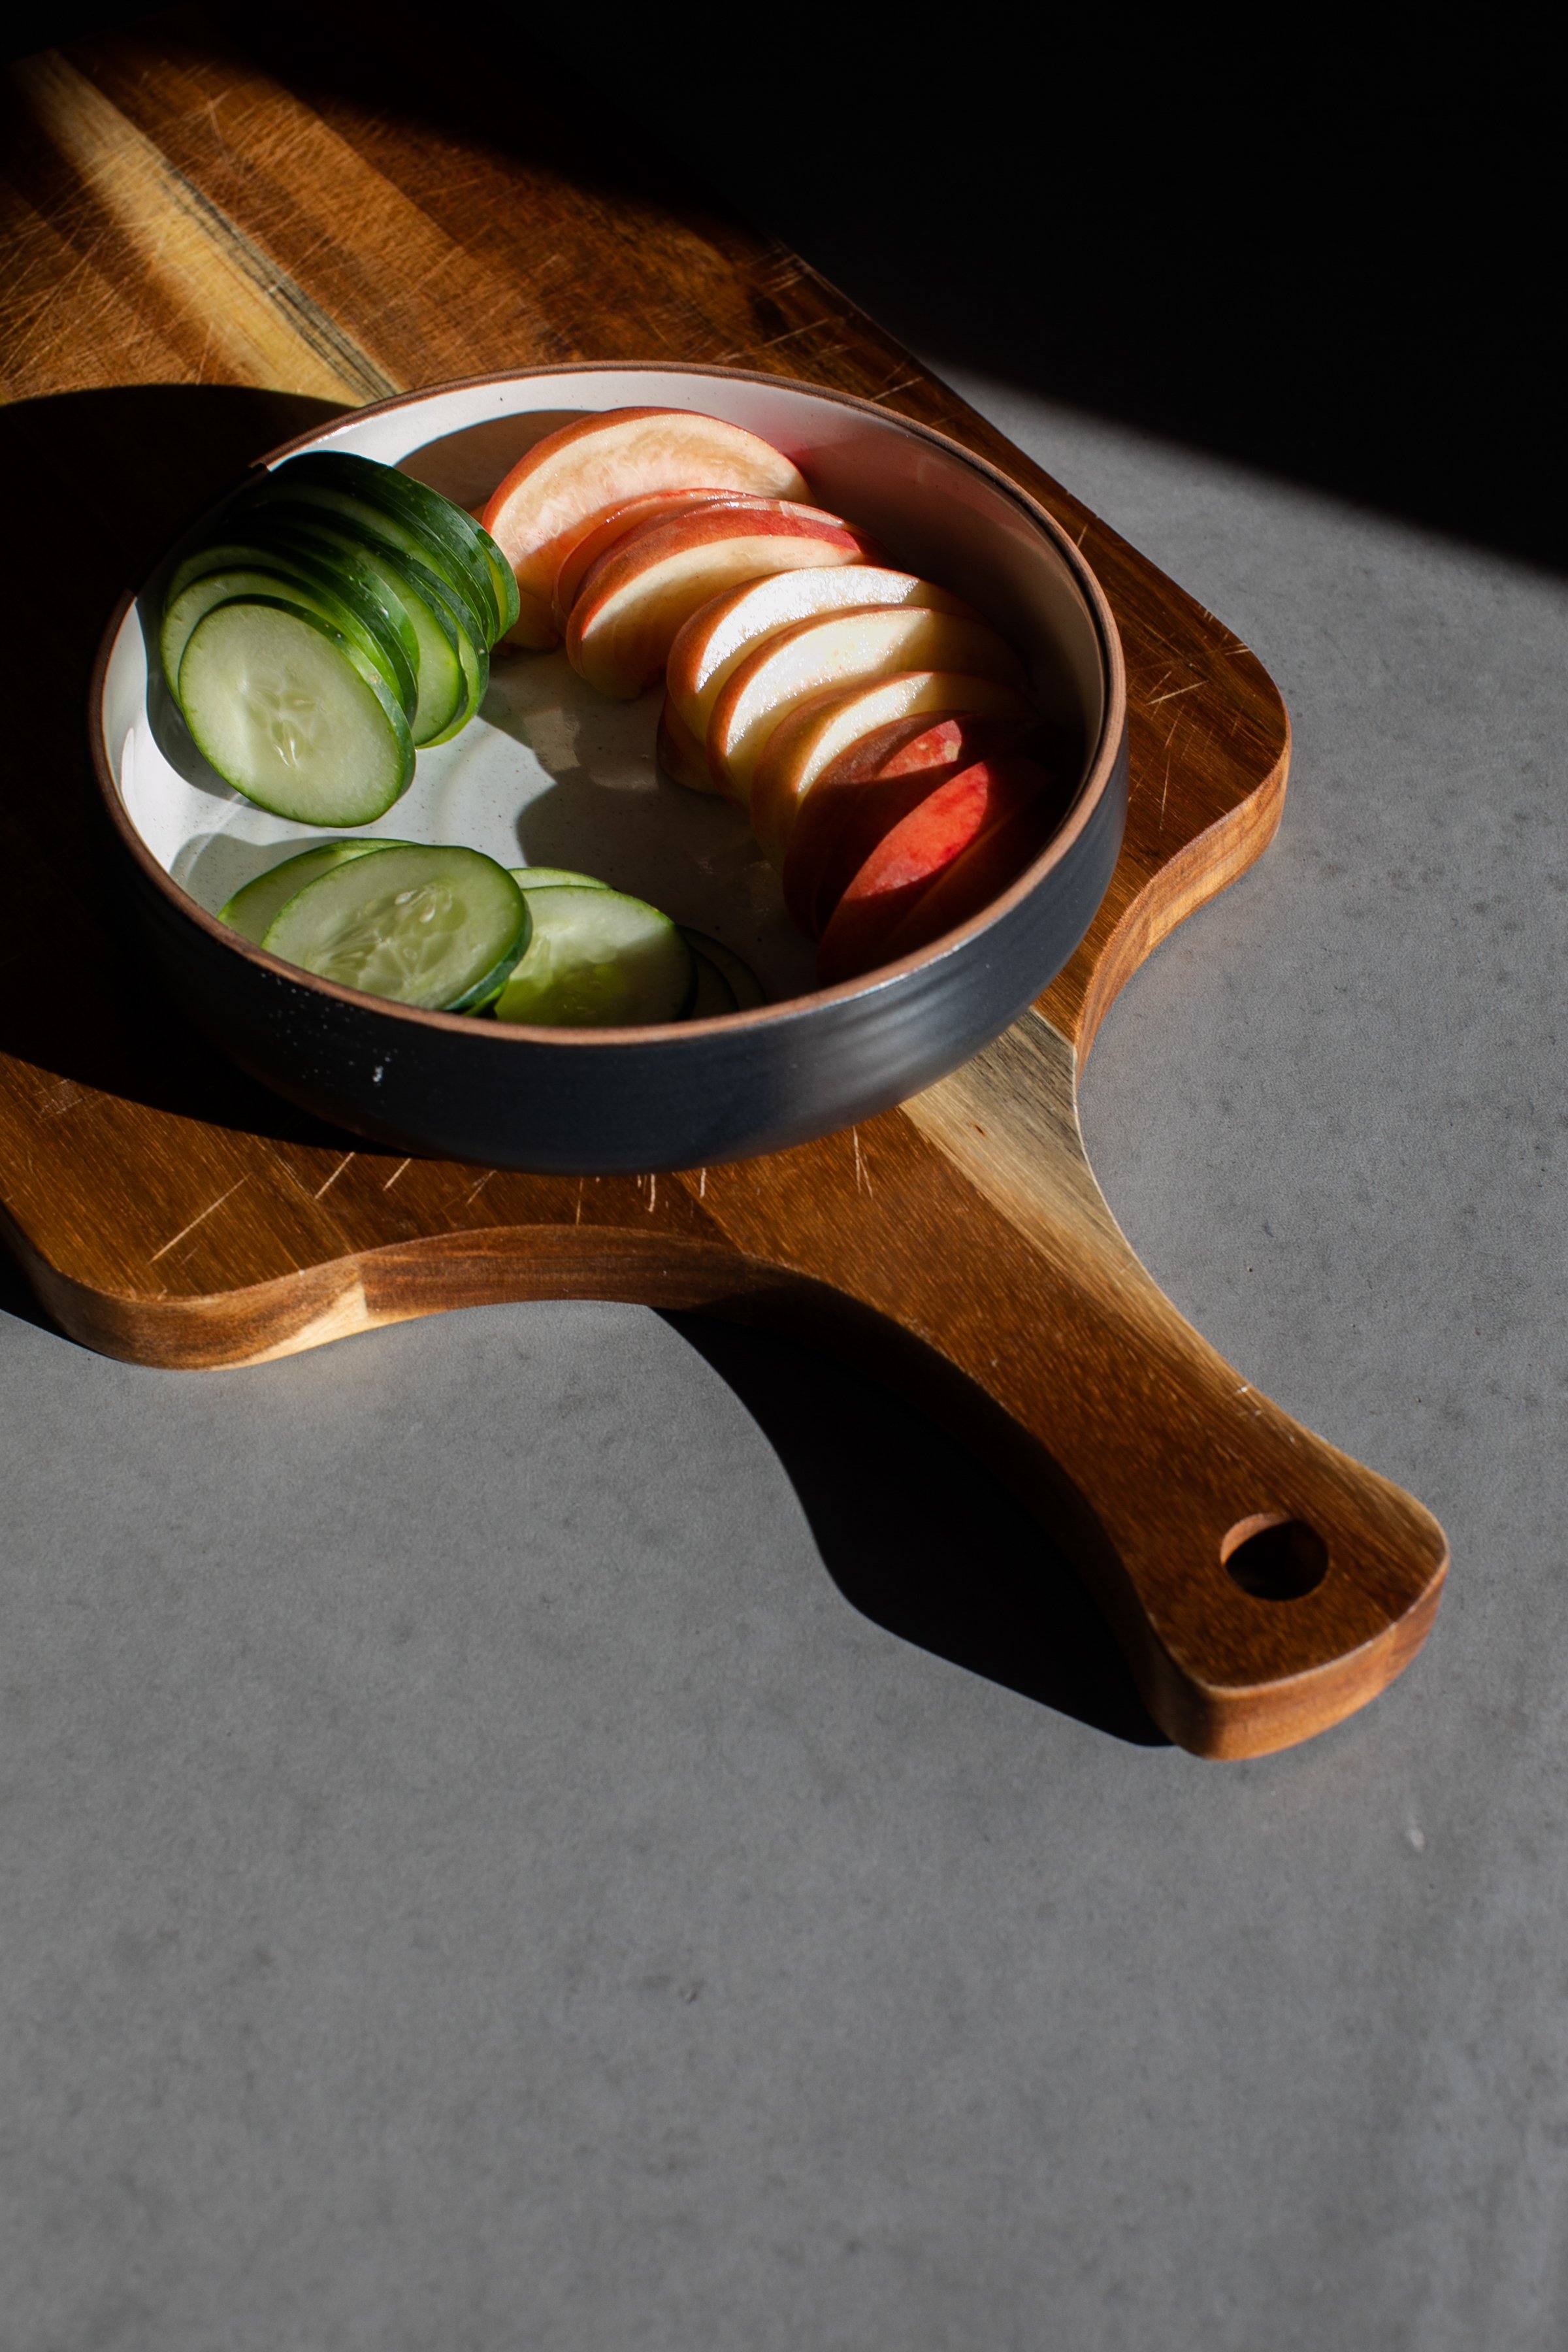
  • 24-70mm f/2.8: A zoom lens like the 24-70mm f/2.8 is versatile for various types of portraits. It offers flexibility in framing and can be used for both wider environmental portraits and closer headshots.

  • 70-200mm f/2.8: This telephoto zoom lens is great for capturing portraits with a more compressed background. It's particularly useful for outdoor portraits or situations where you can't get physically close to your subject.

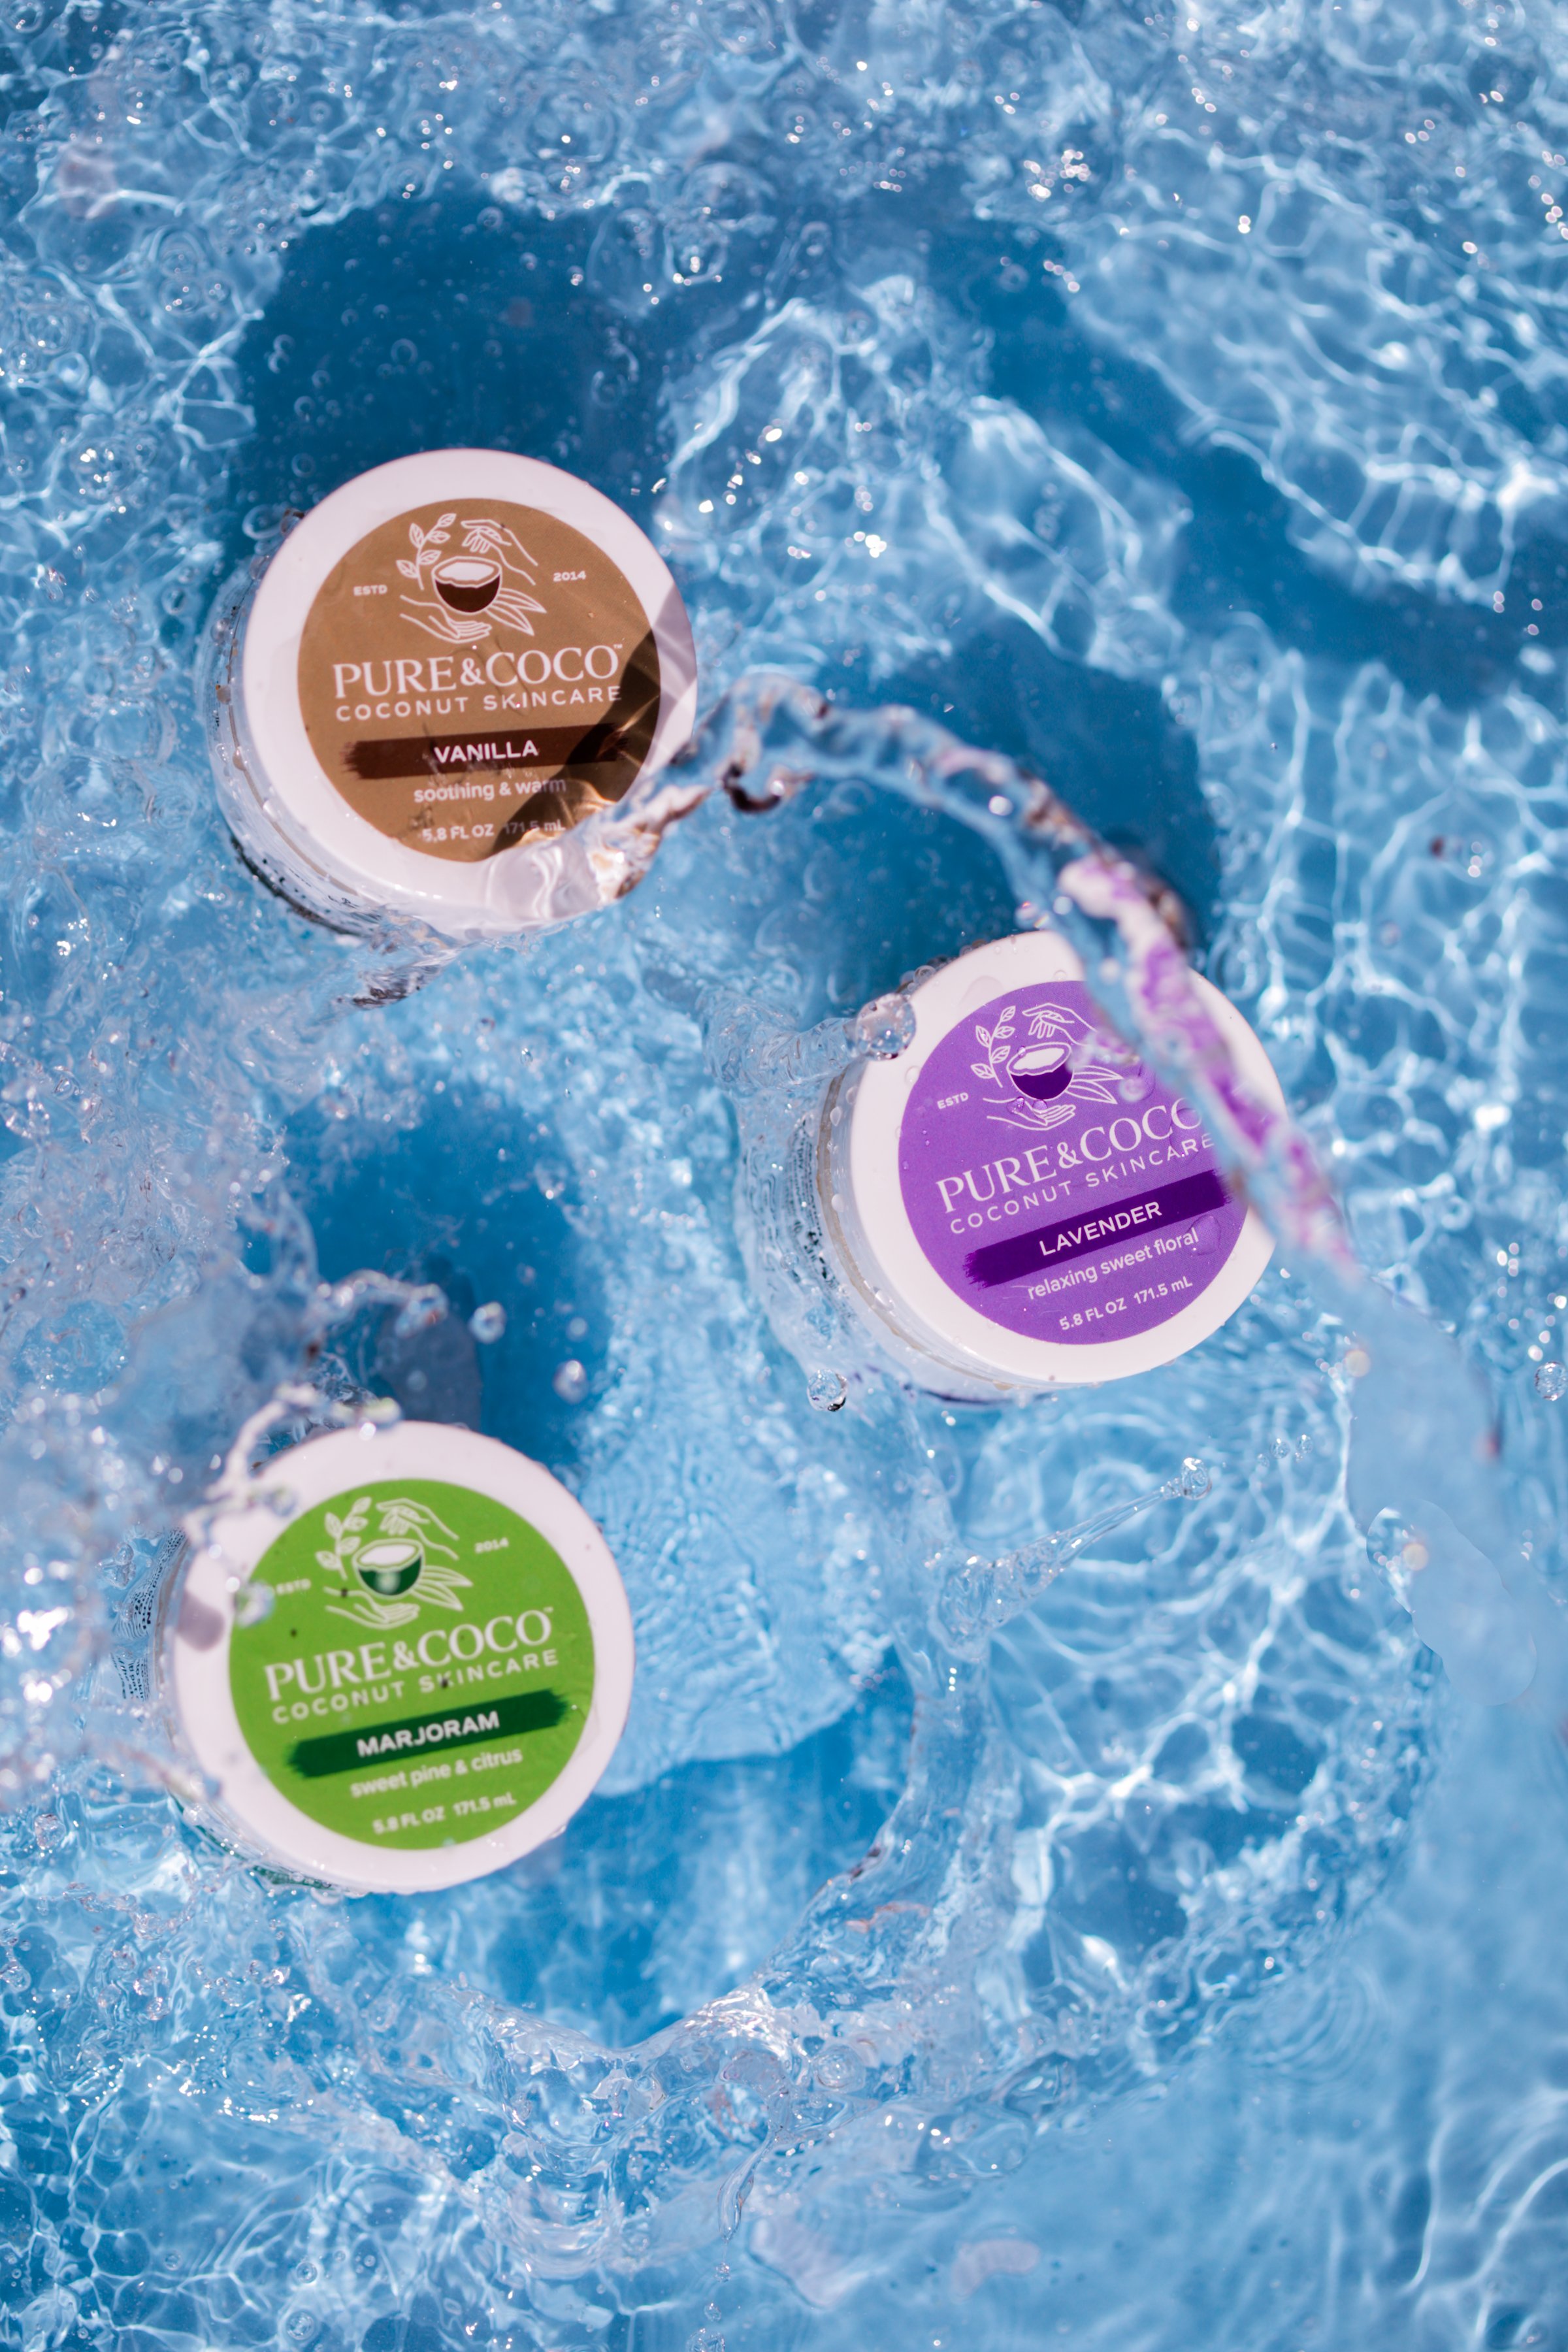
  • 35mm f/1.8 (f1.4 or f1.2): A 35mm lens is another excellent choice for portrait photography, especially if you prefer a wider perspective or if you're shooting in confined spaces. The wider field of view allows you to tell more of a story in your portraits. It's suitable for lifestyle and candid shots where the context of the surroundings is essential.

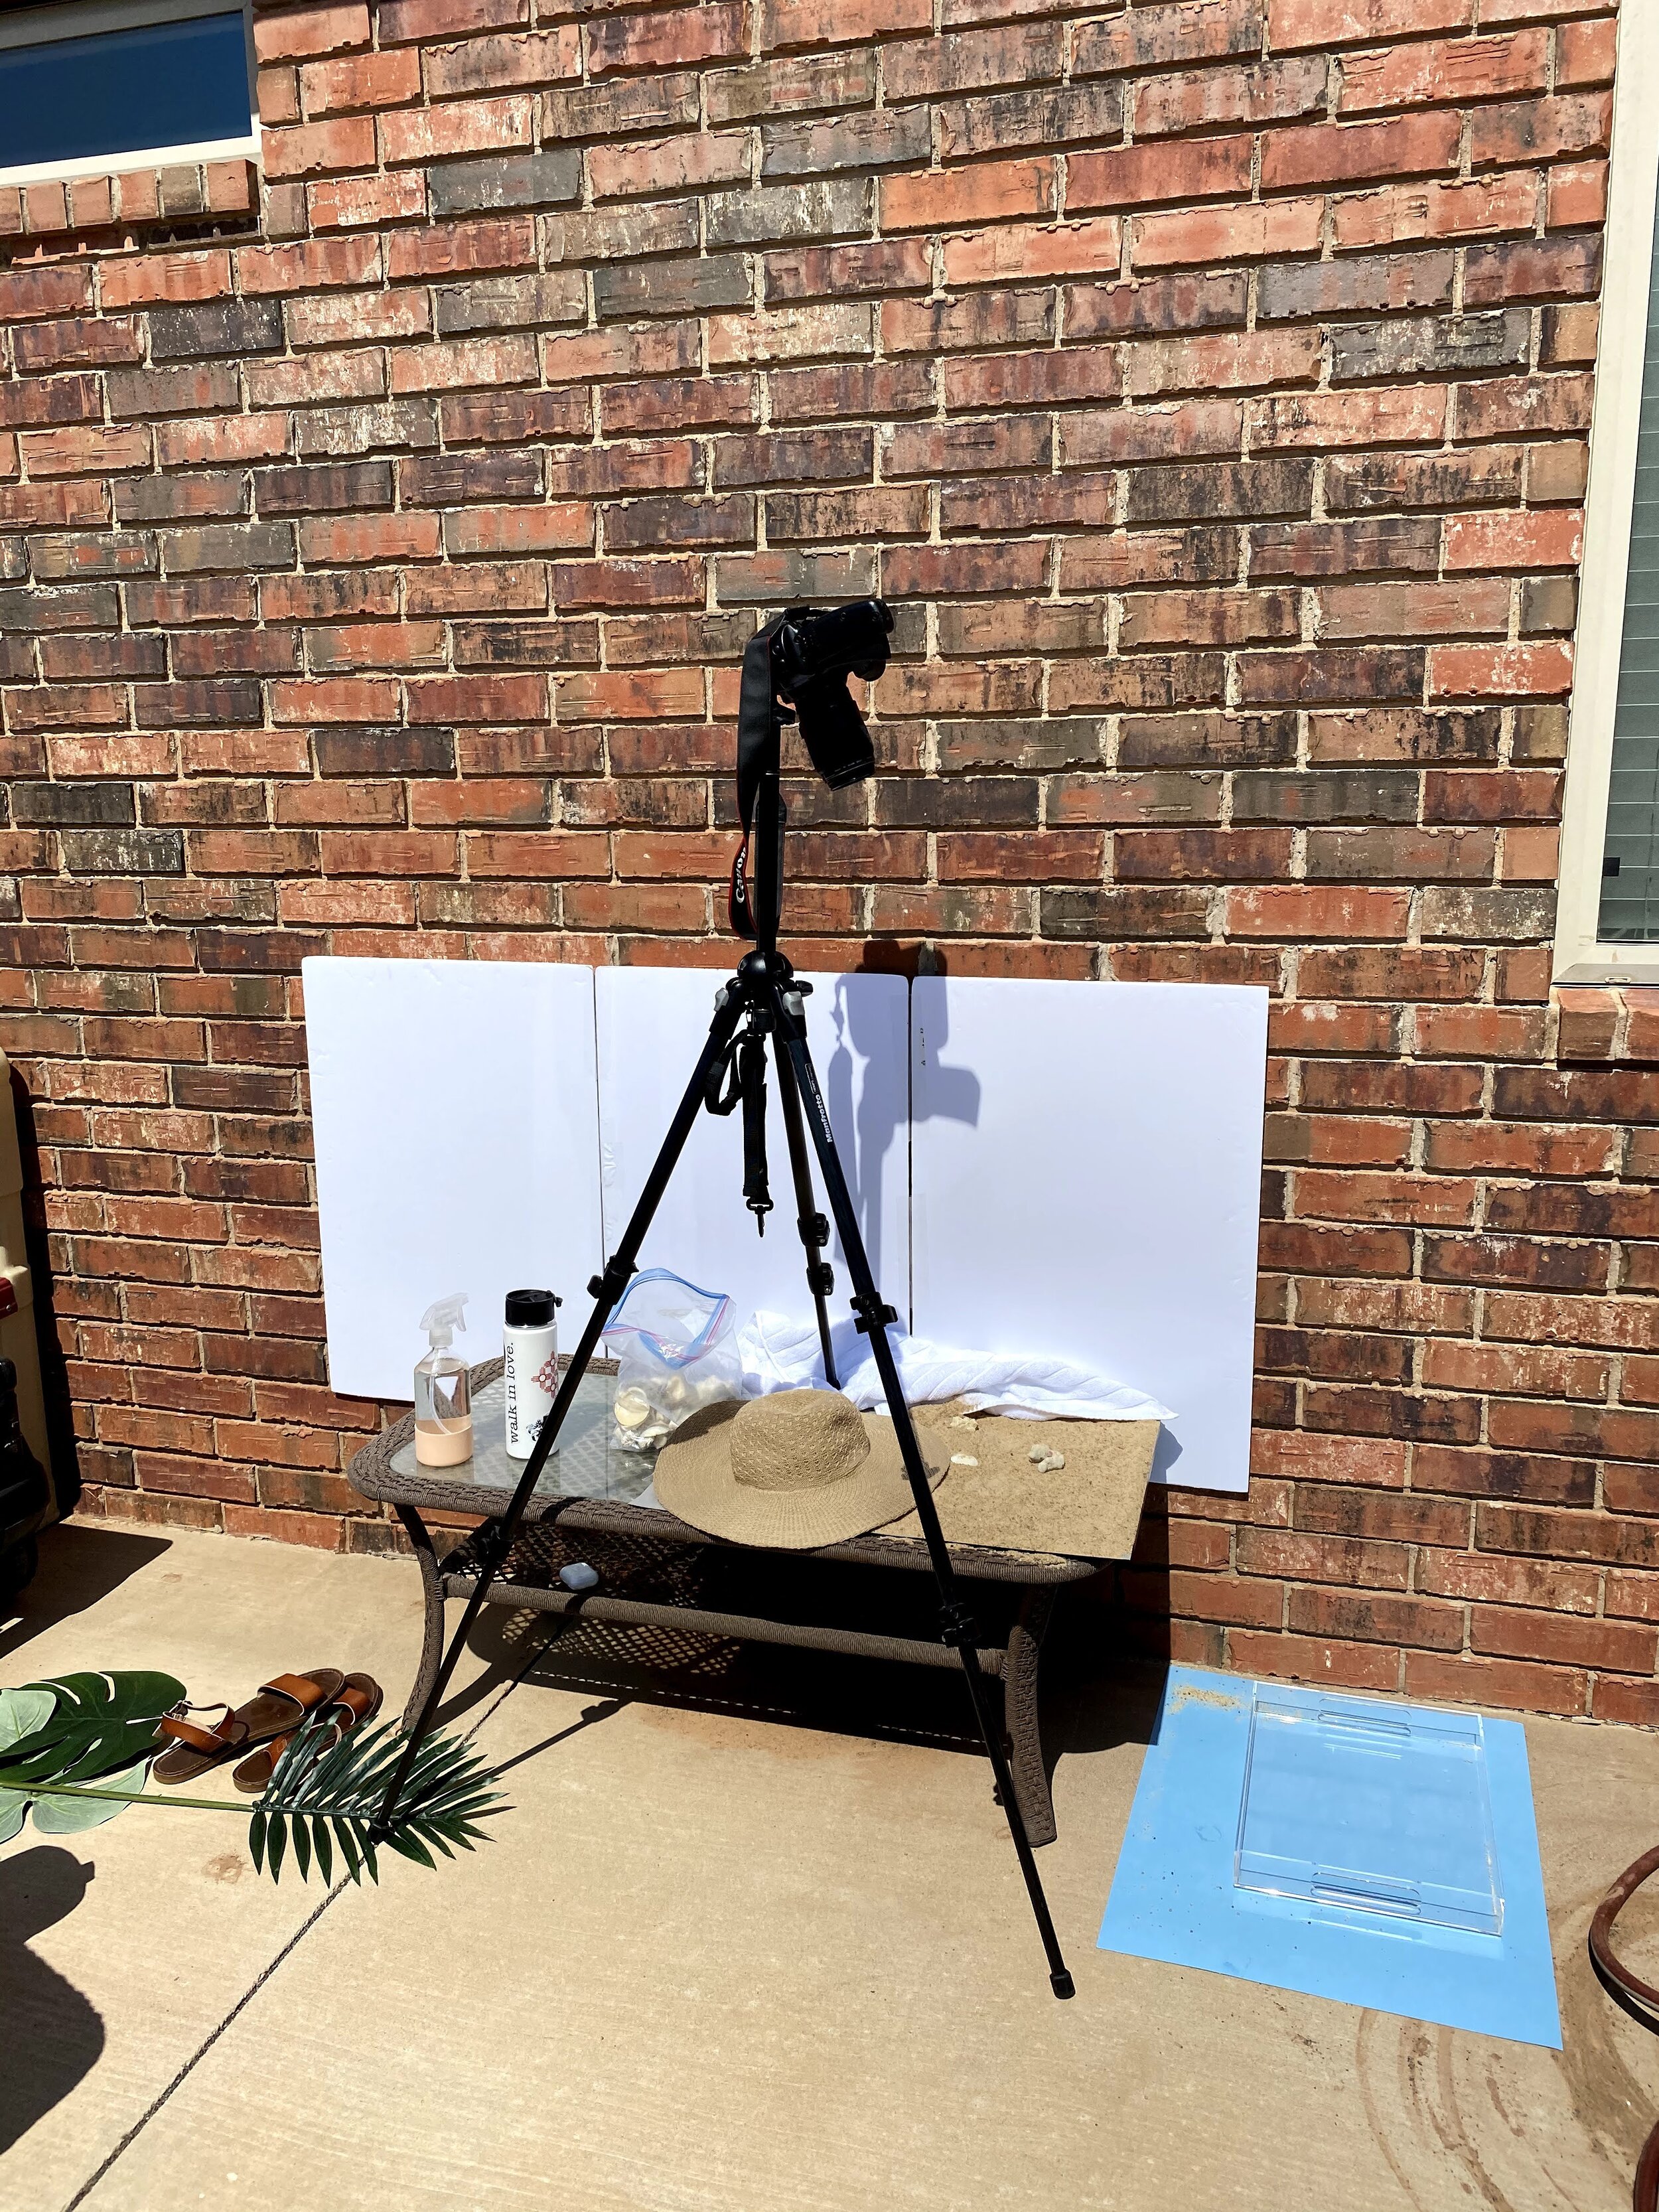
Remember that the best lens for you depends on your shooting style, the type of portraits you want to capture, and your budget. If possible, try out different lenses to see which one suits your preferences and needs the best.

Do This When Shooting Indoor Photography

Shooting indoors can be tricky!

Let me share tips on how to execute it properly, shooting with a DSLR or iPhone/android.

1. Turn off overhead lighting. This helps your photos white balance be more neutral. If the lights were on, your photo would turn out yellow.

2. Move near a window or open door and have your subject face the light. This helps to illuminate your subject nicely.

This seems like an obvious thought, but you’d be surprised to know this is the biggest mistake people make when it comes to properly lighting your scene.

3. Purchase white foamboard at any grocery store. The foamboard can be used as a reflector or fill light. Simply place the board near your subject, with the light bouncing on the board, then onto your subject. The foamboard will also help neutralize your white balance.

There you go! Try it out for yourself and don’t be afraid to move around and try different angles, use different lenses or change your ISO.

Have questions? Comment below and I’d love to talk more with you.

Do This When Shooting Indoor Photography

How To Fake A Pool-Beach Look For A Product Shoot

Planning ideas for a product shoot can be extremely fun and hard at the same time.

The goal is to make sure my clients are 100% satisfied in the end. The professional photographs I provide for them are meant to connect their clientele-present and future, with the products they sell in hopes they become long time customers.

Sometimes the ideas might seem impossible. For example, I don’t live near the beach, or own a pool.

For one of my styled shoots, I wanted the setting to be at the beach or pool. So instead of it stopping my creative process, I made a beach/pool scene and I chose to shoot this outside to give it the high contrast light.

The tools used:

  • Playsand

  • Clear acrylic container

  • blue poster board

  • water hose

  • beach props

  • clients products

  • white foamboard to reflect light on your subject and cancel out the warm tones from the brick.

  • tripod

  • Spray bottle with water to make the sand wet and condensation on products

Tips:

  • As you are shooting, be aware of your own shadow

  • Try several angles

  • Move props around to try different looks

  • Under-expose (darken) your photo when shooting outside. It’s hard to see the exposure correctly when shooting outside in the bright light.

  • Shoot with a variety of lenses so you can get different looks

You can shoot these with your DSLR or iPhone. I hope you have fun creating.

If you have questions, leave a comment and I’ll be happy to answer them.

Featured product: Pure and Coco

Loading Your Photos On Instagram...Don't Do This

When you load photos on Instagram, make sure you do the photo justice. Don't cut off limbs and make the photo incomplete.

In my college photography classes, the composition rule my professor taught us when photographing portraits was this: do not cut off limbs in your photo. More specifically, don’t crop where the joints meet.

For example, wrist to forearm, elbow to upper arm, ankle to leg, and knee to upper leg. If you crop parts of the body, do it in the middle of the arm, or middle of the thigh for example.

Cropping at the joints leaves the body incomplete. It makes the brain wonder where the hand or foot are. However, if you crop in the middle of the torso instead of at the hips, or middle of the forearm and not the wrist, it helps the brain see the body complete, knowing there is more outside of the frame.

This one tip can either make or break your picture (in my professional opinion) when posting on Instagram.

Did you know you can use a rectangle crop instead of a square crop when posting on Instagram?

How to make a rectangle crop on Instagram:

  • Select the plus sign at the bottom in the middle.

  • Select the picture that you want to showcase. As you select the picture and Instagram pulls it up, it shows it in a square form.

  • For this picture I’m showing you in the video, the picture is a full body, head to toe photo, so we need a rectangle crop.

  • Select the right angle icon at the bottom left. This will give the photo a fuller crop.

  • The new composition still crops off the feet.

  • This can be corrected by gently sliding the image up with your finger. Did you know you can do that you?

That’s it!!

Next time you post, try this out. Even if you use Planoly or other third party planners for social media, you can still apply this technique.

If you have any follow up questions, feel free give me a call or email me.

Cropping Guide (1).jpg

Behind the Scenes Product Shoot: Pure and Coco

Behind the scenes product shoot

Today I’m highlighting a product shoot I did with Pure and Coco.

They are a product subscription client, and send me their products from Washington.

For 2021, I will have the honor of doing a shoot for them each month.

I’m excited for each shoot, because they will challenge me to be more creative than the shoot before, which will result in inventive photos for my clients.

Are you a product based business and interested to hear more about how a subscription shoot works?

Whatever it is, the way you tell your story online can make all the difference.

Bloggers! Use these tips for your next photo shoot with your iPhone

When you are doing your own photoshoot at home, take note of these four tools to create product photos.

  1. Clamps

  2. Masking tape

  3. Wooden blocks

  4. Dumbbells

Whatever it is, the way you tell your story online can make all the difference.

Don’t just stand there! Revive Your Boring Poses

How do you revive your boring pose ideas when photographing portraits?

Add angles with your arms and legs.

When you do this, it creates movement to your photo and brings interest from your viewers.

Look at all of those triangles!

Try these poses out on yourself for a self-portrait or grab a friend and do a photoshoot.

Remember, practice makes perfect. So, don’t be discouraged if it doesn’t work right away.

Tell me, do you think you’ll try it?

Whatever it is, the way you tell your story online can make all the difference.

How to Style a Product Shoot

Styling for my clients product shoot is one of my favorite components I do for them.

Some things you have to think about before the shoot:

What is the clients objective? E-commerce (white photo background) or lifestyle photos?

What are the ingredients in the product? Knowing this will help you with prop ideas. Especially for this product, which was essential oils for Plant Juice Oils.

Know that the client will not always love the shots you love. They will love other photos, ones that you almost didn’t include in the gallery. And then you are thanking yourself for including them.

Brainstorm your set, colors, and material.

Use a variety of textures-smooth, rough, cotton, stones, plexiglass, silk, wood, balloons, etc.

Do your products include food related items? If so, use those for props. For example, sugar cookie essential oil mask spray for kids, use sugar real sugar cookies.

Also, have an actual list ready to go so it makes shooting a little easier, but also welcome spontaneous ideas.

Have any questions about how a product shoot works? I’d love to chat with you. Leave a comment below.

Essentional Oil Product photography by Clovis, NM photographer Cristy Cross_0011.jpg
Essentional Oil Product photography by Clovis, NM photographer Cristy Cross_0013.jpg
Essentional Oil Product photography by Clovis, NM photographer Cristy Cross_0021.jpg
Essentional Oil Product photography by Clovis, NM photographer Cristy Cross_0016.jpg
Essentional Oil Product photography by Clovis, NM photographer Cristy Cross_0012.jpg
Essentional Oil Product photography by Clovis, NM photographer Cristy Cross_0019.jpg
Essentional Oil Product photography by Clovis, NM photographer Cristy Cross_0020.jpg
Essentional Oil Product photography by Clovis, NM photographer Cristy Cross_0014.jpg
Essentional Oil Product photography by Clovis, NM photographer Cristy Cross_0015.jpg