Do This When Shooting Indoor Photography

Shooting indoors can be tricky!

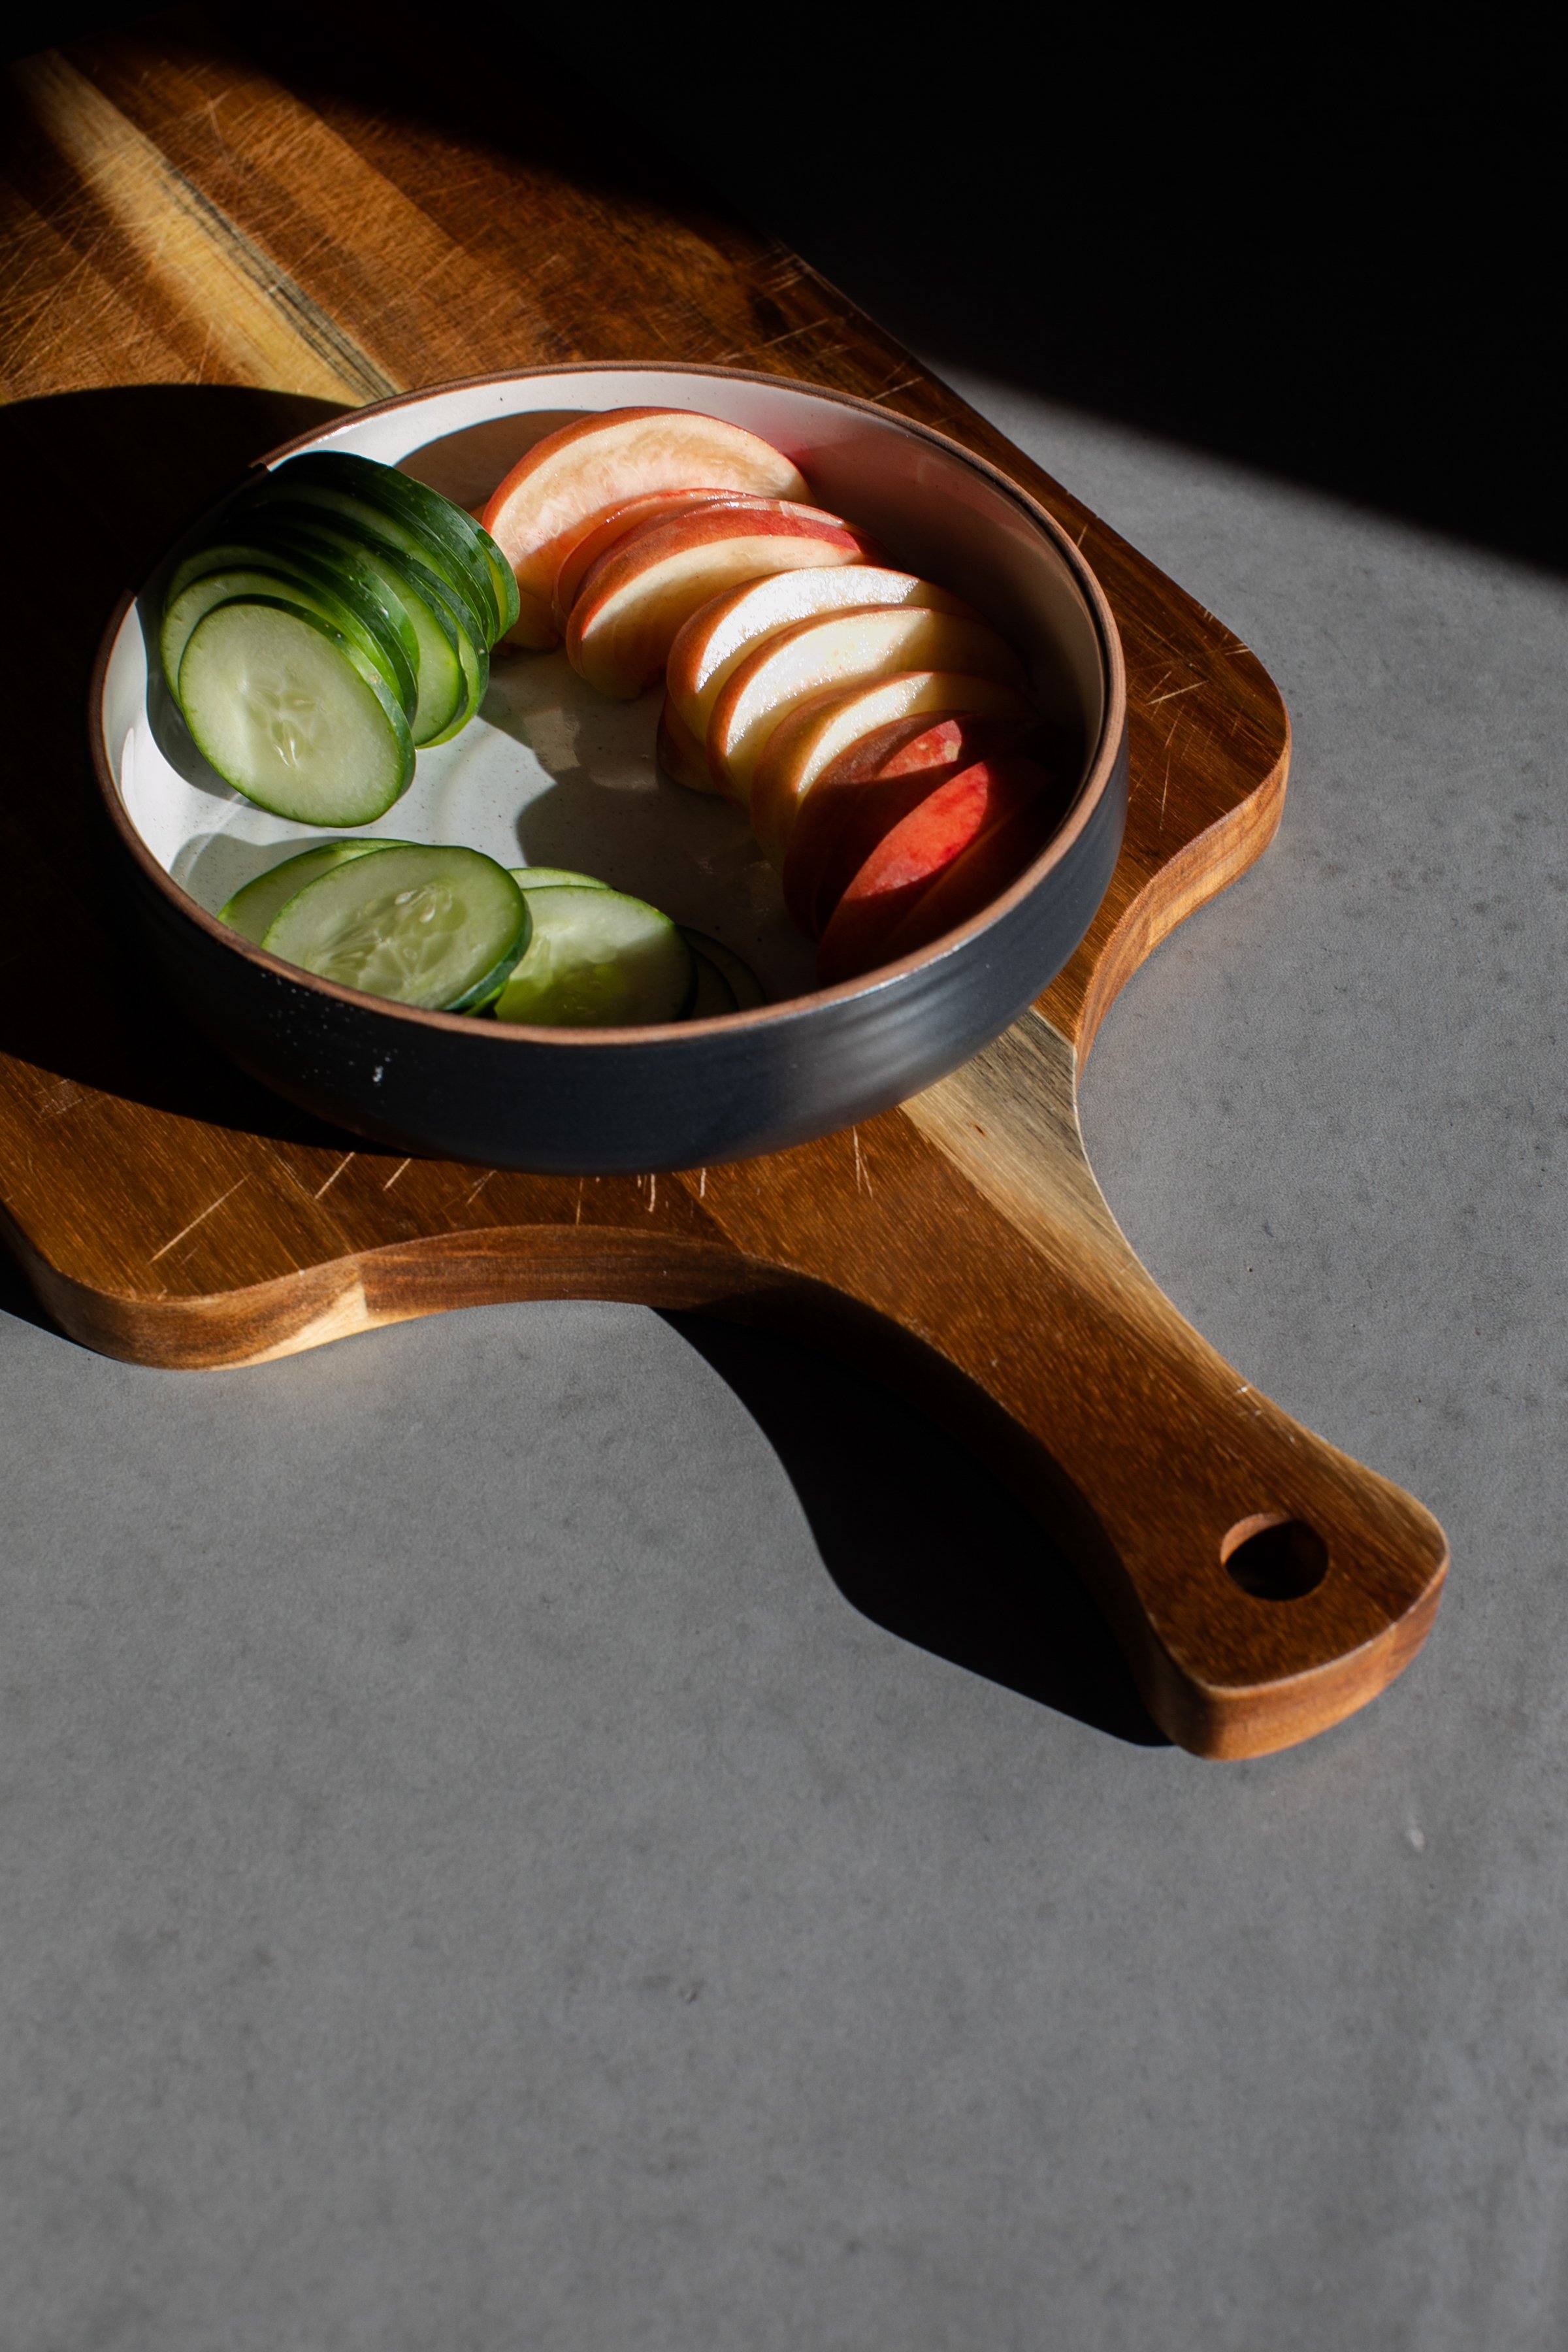
Let me share tips on how to execute it properly, shooting with a DSLR or iPhone/android.

1. Turn off overhead lighting. This helps your photos white balance be more neutral. If the lights were on, your photo would turn out yellow.

2. Move near a window or open door and have your subject face the light. This helps to illuminate your subject nicely.

This seems like an obvious thought, but you’d be surprised to know this is the biggest mistake people make when it comes to properly lighting your scene.

3. Purchase white foamboard at any grocery store. The foamboard can be used as a reflector or fill light. Simply place the board near your subject, with the light bouncing on the board, then onto your subject. The foamboard will also help neutralize your white balance.

There you go! Try it out for yourself and don’t be afraid to move around and try different angles, use different lenses or change your ISO.

Have questions? Comment below and I’d love to talk more with you.

Do This When Shooting Indoor Photography

What is a preset, and what does it do?

What is a preset, and what does it do?
⠀⠀⠀⠀⠀⠀⠀⠀⠀
To some, they are magical and life changing.
⠀⠀⠀⠀⠀⠀⠀⠀⠀
I for one am one of those people.😂
⠀⠀⠀⠀⠀⠀⠀⠀⠀
Every single day I edit photos on my computer or phone, I use presets to enhance my photographs.
⠀⠀⠀⠀⠀⠀⠀⠀⠀
A preset is a recipe of ingredients used to make a good photo look great. It’s ingredients consist of adjustments on exposure, contrast, cool or warm temperatures, green or pink tints, deep shadows, or bright backgrounds, luminance and hues, etc. My favorite presets to use are CC Mobile Presets.
⠀⠀⠀⠀⠀⠀⠀⠀⠀
Each preset works differently. Some are made to brighten a dark photo. While others focus on enhancing colors, increasing contrast and lowering the exposure.
⠀⠀⠀⠀⠀⠀⠀⠀⠀
Depending on how your photo was taken, will depend on which preset will look best for your final edit.
⠀⠀⠀⠀⠀⠀⠀⠀⠀
Adding a preset to a dark photo that was meant to bring back highlights (making highlights darker) would end up making the entire photo darker.
⠀⠀⠀⠀⠀⠀⠀⠀⠀
Or, using a bright preset (raising exposure) to an already bright photo, would make your photograph overexposed (too bright).
⠀⠀⠀⠀⠀⠀⠀⠀⠀
These are just a couple tips on using presets. Stick around and I’ll share more in the future or feel free to check out after/before photos at CC Mobile Presets on Instagram.
⠀⠀⠀⠀⠀⠀⠀⠀⠀
Do you have any questions about presets? Leave your questions in the comments section and I’ll dive deeper into them.

After editing the photo below, I went one step further to change up my creative game by flipping the photo.

Top photo: After, Bottom photo: before

Brand photography by Clovis, NM photographer Cristy Cross_0009.jpg

Left: After, Right: Before

Brand photography by Clovis, NM photographer Cristy Cross_0010.jpg

Food Photography | Cherry Pie

PRODUCT PHOTO SHOOT: Cherry Pie

By using my iPhone, good window lighting, filler light (poster board), and simple editing, I can create a professional photograph in under 5 minutes.
Follow these steps on the video and try it out yourself!

All edits were done using CC Mobile Presets. Simple and easy to use for product or service based businesses.

Food photography, apple pie by Clovis, New Mexico photographer Cristy Cross_0001.jpg
Food photography, apple pie by Clovis, New Mexico photographer Cristy Cross_0003.jpg
Food photography, apple pie by Clovis, New Mexico photographer Cristy Cross_0002.jpg
 

Camera Phone Tips | Basic Exposure

The number one comment I get from so many people that take my camera phone course is they never knew about this feature and it has changed the result of their photos. So today, I’m sharing it with you too!

redesigned basic exposure.jpg
CRISTYCROSSPHOTO_Alt Summit 2020_Thursday Events_0858.jpg